
GICT knowledge base
How to Test Application Emails with Mailpit
Published
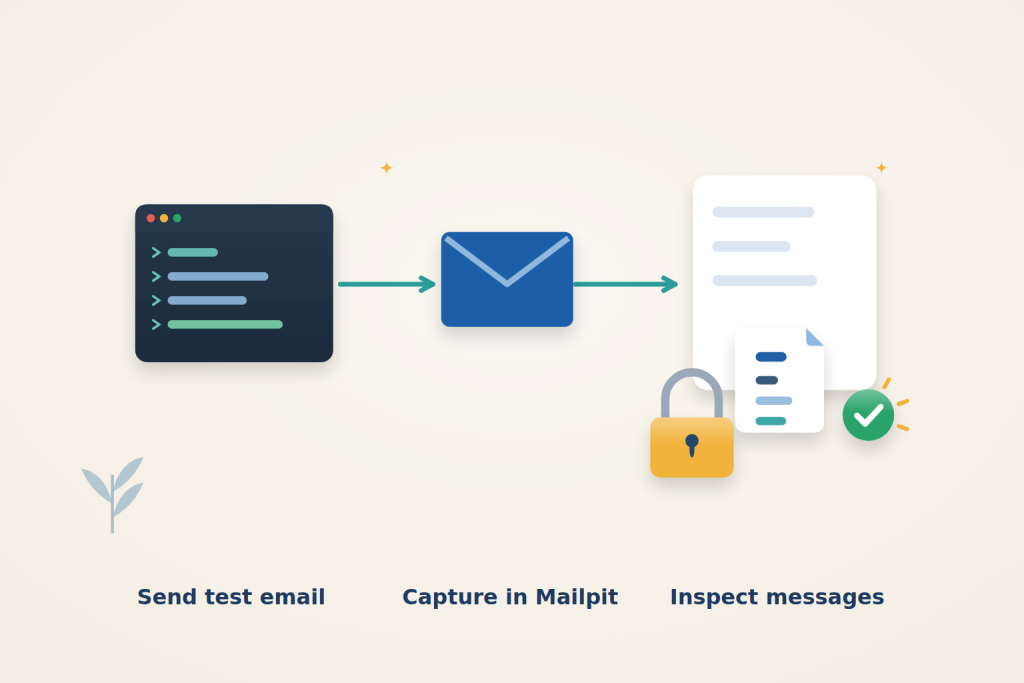
Mailpit catches application emails in a private inbox so you can inspect their content before using a real delivery service. It accepts SMTP messages and provides a browser view of their text, HTML and attachments. Capturing a message does not prove that a production provider will deliver it to a customer’s inbox.
Use an Ubuntu 24.04 server with sudo access and an SSH client on your computer. An InterServer VPS can host Mailpit alongside a staging application. Keep this setup for testing: it stores email content and may receive password-reset links or other sensitive data.
Private-port prerequisite: use Docker Engine 28 or newer for the loopback-published ports in this guide. Older releases have a documented localhost-port exposure limitation. Confirm from another machine that the public IP cannot reach those private service ports; a proxy login does not protect a direct bypass route.
Decide what the test should prove
Mailpit confirms that a staging application emitted a message and lets you inspect its recipients, body and attachments. It does not test internet delivery or reputation. Use synthetic data and confirm the newly generated message, not an older matching subject.
1. Prepare the private inbox
On the server, install Docker, Compose, the password utility and Python:
$ sudo apt-get update
$ sudo apt-get install -y docker.io docker-compose-v2 apache2-utils python3 curl
$ sudo systemctl enable --now docker
$ sudo install -d -m 0700 -o "$USER" -g "$USER" /opt/mailpit
$ cd /opt/mailpit
Create the inbox login. Enter a strong password at the two hidden prompts:
$ htpasswd -B -c /opt/mailpit/ui.htpasswd tester
$ chmod 600 /opt/mailpit/ui.htpasswd
The file contains a bcrypt password hash. Use -c only when creating a new file: running it again replaces the existing users. Multiple logins share the same inbox; they do not create separate mailboxes.
Create /opt/mailpit/compose.yaml:
services:
  mailpit:
    image: axllent/mailpit:v1.31.4
    restart: unless-stopped
    ports:
      - "127.0.0.1:1025:1025"
      - "127.0.0.1:8025:8025"
    environment:
      MP_DATABASE: /data/mailpit.db
      MP_UI_AUTH_FILE: /auth/ui.htpasswd
      MP_MAX_MESSAGES: "500"
    volumes:
      - mailpit_data:/data
      - ./ui.htpasswd:/auth/ui.htpasswd:ro

volumes:
  mailpit_data:
Both published ports bind to loopback. The application submits mail on port 1025; the browser interface and API use 8025. The password file protects the interface and API, not this local SMTP listener. Only trusted processes on the server should submit messages to it.
The named volume retains messages when the container is replaced. MP_MAX_MESSAGES caps retained messages at 500; older messages are removed during periodic cleanup, not necessarily immediately when a new one arrives. This is an email-count limit, not a disk-space limit, so monitor storage when testing large attachments.
Start Mailpit and inspect its logs:
$ sudo docker compose -f /opt/mailpit/compose.yaml pull
$ sudo docker compose -f /opt/mailpit/compose.yaml up -d
$ sudo docker compose -f /opt/mailpit/compose.yaml logs --tail=30 mailpit
Wait until both the SMTP and HTTP listeners have started. No forwarding or relay settings are configured: messages are captured locally. Do not enable those features when you need an isolated test inbox.
2. Open the inbox through SSH
On your computer, open a terminal and start a tunnel. Replace user and SERVER_IP with your server login details:
$ ssh -N -L 18025:127.0.0.1:8025 user@SERVER_IPLeave that terminal open. Visit http://127.0.0.1:18025 in your computer’s browser and enter the tester credentials when prompted. The HTTP connection travels inside the encrypted SSH tunnel; there is no public Mailpit HTTP endpoint in this setup.
If local port 18025 is already in use, choose another unused local port in the tunnel command and browser URL. Do not change the server-side port mappings to public addresses as a workaround.
3. Send a sample application email
Back on the server, create /opt/mailpit/send-test.py:
from email.message import EmailMessage
import smtplib

message = EmailMessage()
message["From"] = "app@example.test"
message["To"] = "customer@example.test"
message["Subject"] = "Staging welcome email"
message.set_content("Welcome! This is a captured test email.")
message.add_alternative(
    "<h1>Welcome!</h1><p>This is a <strong>captured test email</strong>.</p>",
    subtype="html",
)
message.add_attachment(
    b"order_id,total\nTEST-1001,19.95\n",
    maintype="text",
    subtype="csv",
    filename="sample-order.csv",
)

with smtplib.SMTP("127.0.0.1", 1025, timeout=10) as smtp:
    smtp.send_message(message)

print("Message accepted by Mailpit.")
Run it:
$ python3 /opt/mailpit/send-test.pyThe script should print Message accepted by Mailpit. Open Staging welcome email in the inbox. Check the recipient, switch between the HTML and text views, and download sample-order.csv. Its contents should be:
order_id,total
TEST-1001,19.95
This confirms an SMTP-to-inbox round trip with both message formats and an attachment. Use synthetic recipients and data while testing. You do not need MX records or an external SMTP account for this local capture workflow.
4. Point your staging application at Mailpit
For an application running directly on this server, use these SMTP settings:
- Host:
127.0.0.1 - Port:
1025 - Encryption: none
- SMTP authentication: disabled
The inbox password is for browser/API access; do not enter it as SMTP credentials for this configuration. Trigger a real application action, such as a staging welcome message, then check its subject, body, links and attachments in Mailpit. These settings replace the staging application’s normal outbound mail transport, not its production configuration.
If your application runs in Docker, its 127.0.0.1 refers to its own container. Put the application and Mailpit on a shared private Docker network and use mailpit:1025 as the SMTP destination. Do not expose port 1025 publicly to solve container connectivity. Keep both services’ network configuration explicit.
Review the message as a recipient would
Inspect both message formats. A styled HTML email can look correct while the plain-text alternative is incomplete or has broken URLs. Check that links point to the intended staging hostname, that personalized fields contain the expected synthetic values, and that an attachment opens with the expected contents rather than merely appearing in the attachment list.
Captured reset links and invitation URLs can remain usable against the staging app. Treat them as sensitive even when the recipient address is fictional. All configured inbox users share this captured mail, so additional browser logins do not isolate one team’s messages from another’s.
A full inbox is not evidence that a current test succeeded. Match the subject, recipient and content of the new action rather than opening an older message with a similar title. Retention may remove older messages during cleanup, so this inbox is a testing tool, not a permanent audit archive.
5. Verify persistence and access protection
Recreate Mailpit on the server:
$ sudo docker compose -f /opt/mailpit/compose.yaml up -d --force-recreateAfter startup, refresh the inbox through the existing tunnel. The sample message and attachment should still be present. Do not use docker compose down -v unless you intend to delete the message database.
Check that the API refuses an unauthenticated request:
$ curl -sS -o /dev/null -w '%{http_code}\n' http://127.0.0.1:8025/api/v1/messagesExpect HTTP 401. If you change the password file, restart Mailpit so it reloads the credentials:
$ sudo docker compose -f /opt/mailpit/compose.yaml restart mailpitFor connection failures, check the container logs and confirm that the application is using port 1025 rather than 25 or 587. An SMTP authentication or TLS error usually means the application is requesting a feature not enabled here. When finished, press Ctrl+C in your computer’s tunnel terminal to close browser access.
Reference: Mailpit documentation. Check the documentation for your installed version before applying changes.
Related guides
How to Self-Host DocuSeal for Document Signing
Self-host DocuSeal with private administrator setup, PostgreSQL and HTTPS. Test signing, understand email data flows and create consistent backups.
DockerHow to Self-Host AFFiNE with Docker
Self-host AFFiNE with Docker and private initial setup. Check workspace persistence and understand the difference between local and server workspaces.
DockerHow to Run k3s on a Single VPS
Run k3s on a single VPS with HTTPS and persistent storage. Check rollout behavior, protect admin credentials and plan for single-node recovery limits.
DockerHow to Monitor Docker Image Updates with Diun
Monitor container image changes with Diun and ntfy. Configure a watch list, protect notification credentials and verify alerts without automatic updates.