
GICT knowledge base
How to Self-Host AFFiNE with Docker
Published
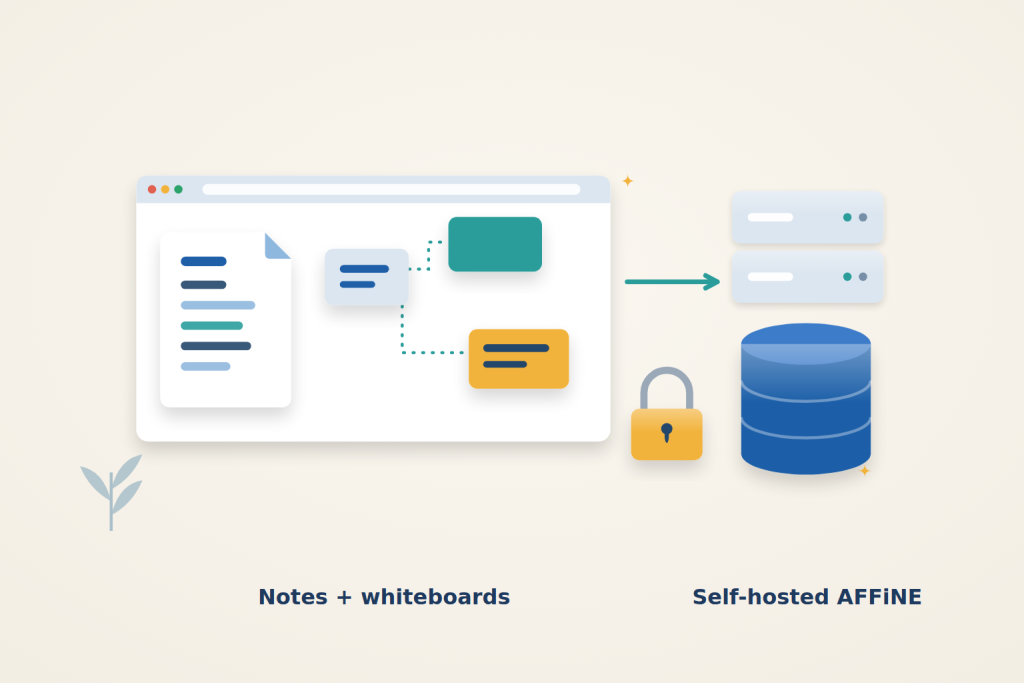
AFFiNE combines documents and an edgeless canvas in one workspace. Running it on your own server keeps the application, PostgreSQL database and uploaded files under your control. Start with a private browser connection through SSH, then verify that your workspace is actually stored on the server rather than only in the browser.
Use a fresh Ubuntu 24.04 server with sudo access and an SSH client on your computer. For a small workspace, choose an InterServer VPS with four CPU cores, at least 4 GB RAM and room for uploaded files. Larger documents and more users need additional memory and storage. This setup does not configure public sharing, email delivery or AI-provider accounts.
Private-port prerequisite: use Docker Engine 28 or newer for the loopback-published ports in this guide. Older releases have a documented localhost-port exposure limitation. Confirm from another machine that the public IP cannot reach those private service ports; a proxy login does not protect a direct bypass route.
1. Prepare the deployment directory
On the server, install Docker and Compose:
$ sudo apt-get update
$ sudo apt-get install -y docker.io docker-compose-v2
$ sudo systemctl enable --now docker
$ sudo install -d -m 0700 -o "$USER" -g "$USER" /opt/affine
$ cd /opt/affine
$ mkdir -p config
Keep /opt/affine in place after deployment. The database, uploaded files and application configuration will live beneath it. Use this layout for a new installation; do not replace an older AFFiNE deployment’s Compose file without checking its existing data paths and database credentials.
2. Define the application stack
Create /opt/affine/compose.yaml:
name: affine
services:
  affine:
    image: ghcr.io/toeverything/affine:0.27.4
    ports:
      - "127.0.0.1:3010:3010"
    depends_on:
      redis:
        condition: service_healthy
      postgres:
        condition: service_healthy
      affine_migration:
        condition: service_completed_successfully
    volumes:
      - ./data/storage:/root/.affine/storage
      - ./config:/root/.affine/config
    environment:
      REDIS_SERVER_HOST: redis
      DATABASE_URL: postgresql://affine@postgres:5432/affine
      AFFINE_INDEXER_ENABLED: "false"
    restart: unless-stopped

  affine_migration:
    image: ghcr.io/toeverything/affine:0.27.4
    command: ["sh", "-c", "node ./scripts/self-host-predeploy.js"]
    volumes:
      - ./data/storage:/root/.affine/storage
      - ./config:/root/.affine/config
    environment:
      REDIS_SERVER_HOST: redis
      DATABASE_URL: postgresql://affine@postgres:5432/affine
      AFFINE_INDEXER_ENABLED: "false"
    depends_on:
      postgres:
        condition: service_healthy
      redis:
        condition: service_healthy

  redis:
    image: redis:7.4-alpine
    healthcheck:
      test: ["CMD", "redis-cli", "ping"]
      interval: 10s
      timeout: 5s
      retries: 5
    restart: unless-stopped

  postgres:
    image: pgvector/pgvector:pg16
    volumes:
      - ./data/postgres:/var/lib/postgresql/data
    environment:
      POSTGRES_USER: affine
      POSTGRES_DB: affine
      POSTGRES_INITDB_ARGS: "--data-checksums"
      POSTGRES_HOST_AUTH_METHOD: trust
    healthcheck:
      test: ["CMD", "pg_isready", "-U", "affine", "-d", "affine"]
      interval: 10s
      timeout: 5s
      retries: 5
    restart: unless-stopped
The application and migration job use the same AFFiNE version. PostgreSQL includes the required vector extension, while Redis supports application coordination. Only the app’s HTTP port is published, and it binds to 127.0.0.1.
This follows the upstream private-network database layout: PostgreSQL uses trust authentication between containers on this Compose network. Do not publish its port or attach untrusted containers to that network. Redis is also unpublished. Host administrators and members of the Docker group remain trusted.
Create /opt/affine/config/config.json:
{
  "$schema": "https://github.com/toeverything/AFFiNE/releases/download/v0.27.4/config.schema.json",
  "server": {
    "name": "Private AFFiNE",
    "externalUrl": "http://localhost:13010"
  },
  "copilot": {
    "enabled": false,
    "byok": {
      "enabled": false
    }
  }
}
server.externalUrl must match the URL used in the browser. Here it matches the local end of the SSH tunnel. AI features are disabled, so document and canvas work does not require a provider key. New installations using this layout do not need a separate .env file.
Understand where the workspace lives
There are two kinds of persistence to distinguish. A browser-only workspace can keep content locally in that browser. A server-backed workspace stores its synchronized state in your self-hosted deployment and can be reopened from a separate signed-in browser. Seeing a document on screen is therefore not enough to establish that it reached the server.
The deployment also separates database content from uploaded files. Keep the PostgreSQL data directory and AFFiNE storage directory together with the configuration when planning protection of the instance. Preserving only the Compose file can recreate containers, but it cannot recreate documents and attachments that existed only in the data directories.
The migration service is a one-shot preparation job, not another web server. Its successful exit is expected and is different from the main application unexpectedly stopping. Inspect that job’s result alongside the health of PostgreSQL and Redis before diagnosing a browser connection problem.
3. Start AFFiNE
Run:
$ sudo docker compose -f /opt/affine/compose.yaml config --quiet
$ sudo docker compose -f /opt/affine/compose.yaml pull
$ sudo docker compose -f /opt/affine/compose.yaml up -d
$ sudo docker compose -f /opt/affine/compose.yaml ps -a
$ sudo docker compose -f /opt/affine/compose.yaml logs --tail=100 affine affine_migration
The migration job should finish with exit code 0. That stopped container is expected. The application, Redis and PostgreSQL should remain running; the two supporting services should report healthy. Wait for the application to finish startup before opening the browser.
If migration fails, read its logs before retrying. Check free disk space and database health. Do not delete the data directory to fix an unexplained startup error.
4. Create the administrator and workspace
On your computer, open an SSH tunnel, replacing the login and address:
$ ssh -N -L 13010:127.0.0.1:3010 user@SERVER_IPKeep the terminal open and visit http://localhost:13010/admin. Enter your name, email address and a strong password, then click Continue through the setup screens. Wait for the login page and sign in with that administrator account. Complete this before giving anyone else access to the instance. This private setup does not configure SMTP, so do not rely on email-based password recovery.
Open http://localhost:13010 in the same browser. The initial Demo Workspace is browser-only. Click Enable AFFiNE Sync, then Enable to move it to your self-hosted server. Wait for synchronization to finish. Keep documents private; do not enable public publishing.
Click the + next to Search to create a document named Server notes, then enter a short paragraph. On a new line, type /attachment, choose Attachment and select a small test file. Click the attachment, then its Download icon, and check the downloaded contents. Switch to the edgeless view with the canvas icon beside the document icon. Choose a shape from the bottom toolbar, drag it onto the canvas, then double-click it to enter text.
Next, open a separate browser profile or private window, sign in through the same /admin page, and reopen the workspace. Confirm that the document, canvas item and attachment are present. This catches a common mistake: content visible in one browser may still belong to a local workspace rather than your server.
Use a fresh browser to confirm server storage
Complete the sync conversion before relying on the cross-browser check. Reopening the same tab or another tab in the same profile can still show local browser state. A separate profile or private session makes a stronger check because it must obtain the workspace through the signed-in server connection.
Check more than the document title. Read the paragraph, inspect the canvas item and download the attachment so each kind of content has a concrete result. A visible attachment name alone does not establish that its bytes are retrievable. If the second session does not show the content, confirm that it uses the same instance and account and that the initial workspace finished syncing.
Keep the tunnel URL and configured external URL aligned. In this setup, localhost in the browser belongs to your computer, while the forward connects to the application’s loopback port on the VPS. A closed tunnel can make a healthy remote app look unavailable; it does not mean the database has disappeared.
5. Verify persistent storage
Recreate the containers without deleting the deployment directories:
$ sudo docker compose -f /opt/affine/compose.yaml up -d --force-recreate
$ sudo docker compose -f /opt/affine/compose.yaml ps -a
Wait for migration and application startup again. In a fresh signed-in browser session, reopen Server notes and download its attachment. The content should still be there.
Keep data/postgres, data/storage and config together. Container recreation is not a backup: arrange independent backups before storing important work. The database and uploaded files must both be protected.
Close the tunnel with Ctrl+C when finished. If the page stops loading, reopen the tunnel and confirm the stack is running. If a different local port is necessary, update server.externalUrl to the browser URL and recreate the app before using that address. Do not expose port 3010 publicly as a shortcut. Public access needs a trusted HTTPS reverse proxy with WebSocket support and a matching external URL.
Related guides
How to Self-Host DocuSeal for Document Signing
Self-host DocuSeal with private administrator setup, PostgreSQL and HTTPS. Test signing, understand email data flows and create consistent backups.
DockerHow to Run k3s on a Single VPS
Run k3s on a single VPS with HTTPS and persistent storage. Check rollout behavior, protect admin credentials and plan for single-node recovery limits.
DockerHow to Monitor Docker Image Updates with Diun
Monitor container image changes with Diun and ntfy. Configure a watch list, protect notification credentials and verify alerts without automatic updates.
DockerHow to Set Up Meilisearch with Docker
Run Meilisearch with Docker, index sample documents and create restricted search keys. Verify asynchronous tasks, persistence and access boundaries.