
GICT knowledge base
How to Self-Host DocuSeal for Document Signing
Published
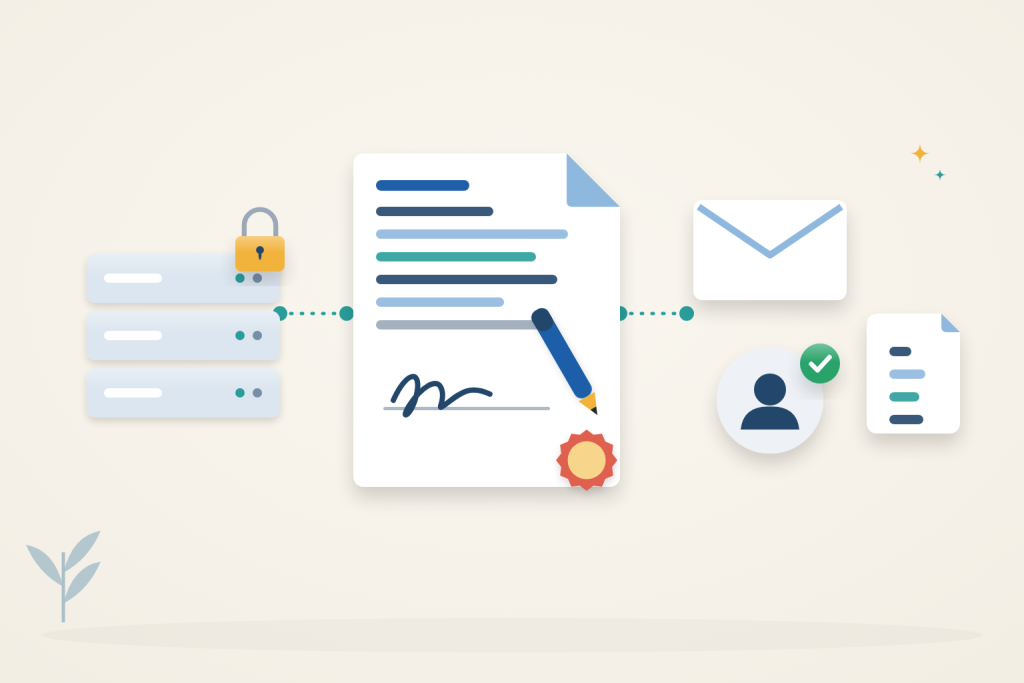
DocuSeal lets you host a document-signing application on your own server. You can upload a PDF, add required fields, invite a signer and retrieve the completed document. Self-hosting controls the application and storage, but it does not keep every copy on the server: SMTP providers, recipients, backups and any configured external integrations can receive document data.
This Ubuntu 24.04 example uses Docker Compose, PostgreSQL and Caddy. It creates the administrator through an SSH tunnel before enabling the public HTTPS endpoint. Assess your legal, identity-verification and retention requirements separately; installing signing software does not establish legal compliance.
Prepare the server
Use a sudo-capable account, console access and a domain such as sign.example.com pointing to the server. Start with at least 2 GB of RAM for a small evaluation and measure PDF processing and concurrent use before choosing production capacity. Have an authenticated SMTP submission account available.
Install Docker Engine and the Compose plugin using the official Ubuntu installation instructions. Check the server version:
sudo docker version --format '{{.Server.Version}}'
sudo docker compose version
This procedure requires Docker Engine 28 or newer. Earlier releases have a documented localhost-published-port exposure limitation. Do not proceed with an older engine and assume a loopback mapping alone protects initial setup.
Preserve the firewall rule for your actual SSH port. Plan public TCP 80 and 443 for Caddy only after private setup. Docker-published ports need their own exposure review; UFW rules alone do not necessarily filter them.
Create the private configuration
sudo install -d -m 700 /opt/docuseal
openssl rand -hex 24
Using a root-capable editor, create /opt/docuseal/.env with the generated password. Do not use the placeholder:
HOST=sign.example.com
POSTGRES_PASSWORD=REPLACE_WITH_GENERATED_HEX_PASSWORD
FORCE_SSL=false
sudo chmod 600 /opt/docuseal/.envCreate /opt/docuseal/compose.yaml. Version tags identify the example, not a guarantee that a release is still supported; check upstream release and security notes before deployment.
services:
  app:
    image: docuseal/docuseal:3.3.1
    restart: unless-stopped
    depends_on:
      postgres:
        condition: service_healthy
    ports:
      - "127.0.0.1:3000:3000"
    volumes:
      - ./docuseal:/data/docuseal
    environment:
      FORCE_SSL: ${FORCE_SSL:-false}
      DATABASE_URL: postgresql://docuseal:${POSTGRES_PASSWORD}@postgres:5432/docuseal

  postgres:
    image: postgres:18.6
    restart: unless-stopped
    volumes:
      - ./pg_data:/var/lib/postgresql
    environment:
      POSTGRES_USER: docuseal
      POSTGRES_PASSWORD: ${POSTGRES_PASSWORD}
      POSTGRES_DB: docuseal
    healthcheck:
      test: ["CMD-SHELL", "pg_isready -U docuseal"]
      interval: 5s
      timeout: 5s
      retries: 10

  caddy:
    image: caddy:2.11.7
    profiles: ["public"]
    restart: unless-stopped
    command: caddy reverse-proxy --from ${HOST} --to app:3000
    ports:
      - "80:80"
      - "443:443"
    volumes:
      - ./caddy:/data/caddy
Use sudo -i for the following server commands, then enter the private directory. Caddy is excluded unless the public profile is requested.
cd /opt/docuseal
docker compose config --quiet
docker compose up -d
docker compose ps
Create the administrator before public access
From a terminal on your computer, open a tunnel using your actual SSH account and server address:
ssh -N -L 127.0.0.1:13000:127.0.0.1:3000 your-user@your-serverKeep the tunnel open and visit http://127.0.0.1:13000 locally. The connection across the network is encrypted by SSH. Create the first administrator with a strong password. Until that account exists, do not start Caddy or add another public route to the application.
Configure the App URL as https://sign.example.com before sending invitations. Change FORCE_SSL=false to FORCE_SSL=true in the environment file. Allow Caddy’s web ports through the applicable firewall, then run:
docker compose --profile public config --quiet
docker compose --profile public up -d
docker compose logs --tail=50 caddy
Check HTTPS in a separate signed-out browser. It must show the normal login rather than initial administrator setup. From another machine, also confirm that the server’s public port 3000 is inaccessible. If either check fails, remove public access and correct it before continuing. Close the SSH tunnel when finished.
Configure email and a disposable signing test
In Settings, configure your provider’s SMTP host, authenticated sender and credentials. Use the provider’s specified submission port and TLS mode, commonly STARTTLS on 587 or implicit TLS on 465. Do not disable certificate verification to hide a hostname or trust error.
- Upload a non-sensitive sample PDF and inspect its fields. Set required signature, name and date fields deliberately; automatic field detection is not a completeness check.
- Send an invitation to a mailbox you control. Confirm the link uses the public HTTPS domain, not localhost.
- Complete the document as the recipient. Retrieve the signed PDF and audit information, and check the required fields and timestamps.
- Review which emails contain attachments. Decide whether your mail provider and retention policy are appropriate for real documents.
A document signature’s integrity and a PDF reader’s trust in its certificate are different checks. Inspect the E-Signature settings and verification result. A self-generated certificate is not automatically trusted by recipients’ PDF readers or an independent proof of the signer’s identity.
Back up files, secrets and database consistently
The application directory includes uploaded files and generated settings such as docuseal.env. Preserve that file and the environment secrets with the database. A database dump without the matching files and keys is not a complete recovery set.
Schedule a signing outage. The following Bash script runs as root in the project directory, stops the sole application writer, creates a private new backup directory and checks archive readability. It does not dump a live PostgreSQL data directory:
#!/usr/bin/env bash
set -euo pipefail
umask 077
cd /opt/docuseal
backup=$(mktemp -d /root/docuseal-backup.XXXXXXXX)
docker compose stop app
trap 'docker compose start app' EXIT
docker compose exec -T postgres pg_dump -U docuseal docuseal | gzip > "$backup/database.sql.gz"
tar -czf "$backup/files.tar.gz" docuseal .env compose.yaml
gzip -t "$backup/database.sql.gz"
tar -tzf "$backup/files.tar.gz" > /dev/null
printf 'Backup directory: %s\n' "$backup"
The trap attempts to restart the app even if backup fails. Check the script’s exit status and service health; a partially written directory is not a successful backup. This assumes no other integration or process writes directly to the database or files during the outage.
Keep an encrypted off-server copy. Rehearse restoration in an isolated installation with compatible application/database versions, matching secrets and outbound email disabled. Verify login, an existing completed document and its download. Archive readability is not proof of a successful application restore. Do not extract over the live installation as a test.
Maintain and troubleshoot
Before updates, read release notes, make a recoverable backup and plan for database migrations. Test upgrades on an isolated copy. With the public profile enabled, use docker compose --profile public pull and docker compose --profile public up -d after deliberately editing the image versions. A rollback may need the pre-upgrade database as well as the old image.
For certificate failures, check DNS, public web-port reachability and Caddy logs. For missing emails, inspect SMTP errors and recipient delivery separately; a successful connection is not proof of inbox delivery. After restoration, missing generated secrets can prevent decryption of stored settings.
See the DocuSeal project and deployment configuration for current features, licensing and release-specific requirements.
Related guides
How to Self-Host Docmost with Docker on Ubuntu 24.04
Install Docmost with Docker, PostgreSQL and Redis. Set up a private workspace and verify editing, live updates and attachment retrieval.
Self HostedHow to Remove Image Backgrounds Locally with rembg
Remove image backgrounds locally with rembg. Preserve originals, check PNG transparency and inspect cutout quality on both light and dark backgrounds.
Self HostedHow to Translate Text Offline with Argos Translate
Translate plain text locally with Argos Translate. Install a language pair, prepare caches, verify offline operation and review translation quality.
Self HostedHow to Self-Host Vikunja with Docker on Ubuntu 24.04
Self-host Vikunja with Docker and PostgreSQL. Create an account privately, connect through SSH and verify tasks, attachments and persistent storage.