
GICT knowledge base
How to Set Up Multiple Main Agents in OpenClaw with Dedicated Workspaces
Published
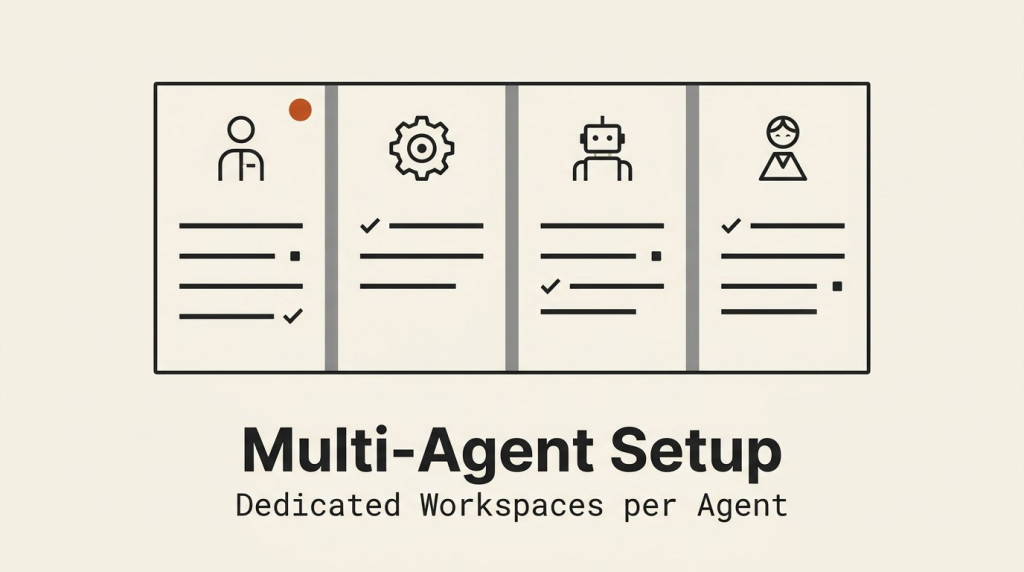
Out of the box, OpenClaw runs one agent. That works fine for personal use. But once you want different agents for different projects, different teams, or different purposes, one agent is not enough. This guide shows you how to run multiple isolated agents from the same gateway, each with its own workspace.
How OpenClaw agents work
Every OpenClaw agent has three core components:
- Workspace – a folder of markdown files that define who the agent is. The key files are SOUL.md (personality), AGENTS.md (operating rules), USER.md (context about the user), and MEMORY.md (persistent memory).
- Agent directory – a state folder under
~/.openclaw/agents/<agentId>/that stores sessions, auth profiles, and per-agent config. Separate from the workspace. - Bindings – rules in the config that decide which agent handles which incoming message, based on channel, account, group, or sender.
When you run openclaw agents add, OpenClaw creates the workspace directory, populates it with template files, and registers the agent in your config. You do not create folders by hand.
Creating an additional agent
openclaw agents add billing
  --workspace ~/.openclaw/workspace-billing
  --description "Handles client invoicing and payment tracking"
OpenClaw creates the workspace at ~/.openclaw/workspace-billing/ and registers the agent in your config. Verify it was created:
openclaw agents listOutput looks like:
NAME     MODEL              WORKSPACE                     STATUS
main     claude-sonnet-4-6  ~/.openclaw/workspace          active
billing  claude-sonnet-4-6  ~/.openclaw/workspace-billing  ready
Both agents exist. main is active because it is your default. The billing agent is ready but doing nothing until you bind it to a channel or group.
Binding agents to channels
Without a binding, OpenClaw routes all messages to the default agent. Bindings are what make routing work. Edit the config using the CLI:
openclaw config set --json bindings '[
  {
    "agentId": "billing",
    "match": {
      "channel": "telegram",
      "peer": {
        "kind": "group",
        "id": "-1001234567890"
      }
    }
  }
]'
Messages from the Telegram group -1001234567890 go to billing. Your personal DMs still go to main. When multiple bindings match, the first one in config order wins.
You can also bind an agent to a specific bot account on a channel:
openclaw config set --json bindings '[
  {
    "agentId": "support",
    "match": {
      "channel": "telegram",
      "accountId": "support_bot"
    }
  }
]'
All messages through the support_bot Telegram account go to the support agent. This is how you run a separate bot identity on the same gateway.
Workspace isolation
Each agent’s workspace is the default working directory, not a hard sandbox. Relative paths resolve inside the workspace, but absolute paths can reach other host locations unless you enable sandboxing. If you need real isolation, use the Docker sandbox mode covered later in this article. Without it, an agent with exec access can read files outside its workspace if it knows the full path.
You can grant an agent access to multiple directories by listing them in the config:
{
  "agents": {
    "list": [
      {
        "id": "fullstack-dev",
        "workspace": [
          "~/projects/frontend",
          "~/projects/backend",
          "~/projects/shared-libs"
        ]
      }
    ]
  }
}
The agent can read and write across all three directories. It still cannot access other agents’ workspaces. That isolation holds regardless of how many paths you configure.
Tool restrictions per agent
You can lock down what each agent is allowed to do. In the config:
{
  "agents": {
    "list": [
      {
        "id": "family",
        "workspace": "~/.openclaw/workspace-family",
        "tools": {
          "allow": ["read"],
          "deny": ["exec", "write", "edit"]
        }
      }
    ]
  }
}
The family agent can read files but cannot modify anything or run shell commands. Useful for shared spaces where a misconfigured agent should not be able to act on behalf of anyone.
For stronger isolation, enable Docker sandboxing per agent:
{
  "agents": {
    "list": [
      {
        "id": "untrusted",
        "workspace": "~/.openclaw/workspace-untrusted",
        "sandbox": {
          "mode": "all",
          "scope": "agent",
          "docker": {
            "setupCommand": "apt-get update && apt-get install -y git curl"
          }
        }
      }
    ]
  }
}
Any tool execution for the untrusted agent happens inside an isolated Docker container, not on the host. The setupCommand runs once when the container starts.
Different models per agent
You do not have to run the same model for every agent. Assign cheaper models to routine tasks:
openclaw agents add billing
  --workspace ~/.openclaw/workspace-billing
  --model gpt-4o
The billing agent runs GPT-4o while your main agent runs Claude Sonnet. Set fallbacks per agent:
{
  "agents": {
    "list": [
      {
        "id": "billing",
        "model": {
          "primary": "gpt-4o",
          "fallbacks": ["claude-haiku-4"]
        }
      }
    ]
  }
}
Restart and test
openclaw gateway restartSend a test message to the bound channel or group. Ask the agent something specific to its workspace. “What files are in your workspace right now?” If it answers with files from its own workspace directory, the binding is working correctly.
What you end up with
After this setup, your gateway runs multiple isolated agents. Your main agent handles personal DMs. A billing agent handles your finance group. A support agent runs a separate Telegram bot for customers. Each has its own workspace, session history, and model. None of them can see each other’s files unless you explicitly grant shared directories.
That isolation is the point. It means you can run an agent for your family, an agent for your clients, and an agent for your own work, all on the same server, without worrying about cross-contamination of context or access.
Related InterServer guide: If you want AI agents to connect directly to InterServer hosting tools, read InterServer MCP Server: Connect AI Agents to Your Hosting Account.
Related guides
How to Secure the Ollama API with Nginx
Protect a private Ollama API with Nginx authentication and restricted routes. Verify allowed requests, denied management calls and direct-port isolation.
AIHow to Set Up an LLM Gateway with LiteLLM
Configure a LiteLLM gateway with private administration, virtual keys and model restrictions. Test allowed requests and understand budget limitations.
AIHow to Self-Host Karakeep with AI Tagging on a VPS
Self-host Karakeep with local Ollama tagging. Restrict first-user setup, disable public registration and verify collection, search and suggested tags.
AIHow to Categorize Support Tickets with a Local AI Model
Suggest support-ticket categories from a CSV using a CPU-only AI model. Keep inference local, preserve ticket IDs, and review uncertain classifications.