
GICT knowledge base
How to Set Up a File Transfer Server with SFTPGo
Published
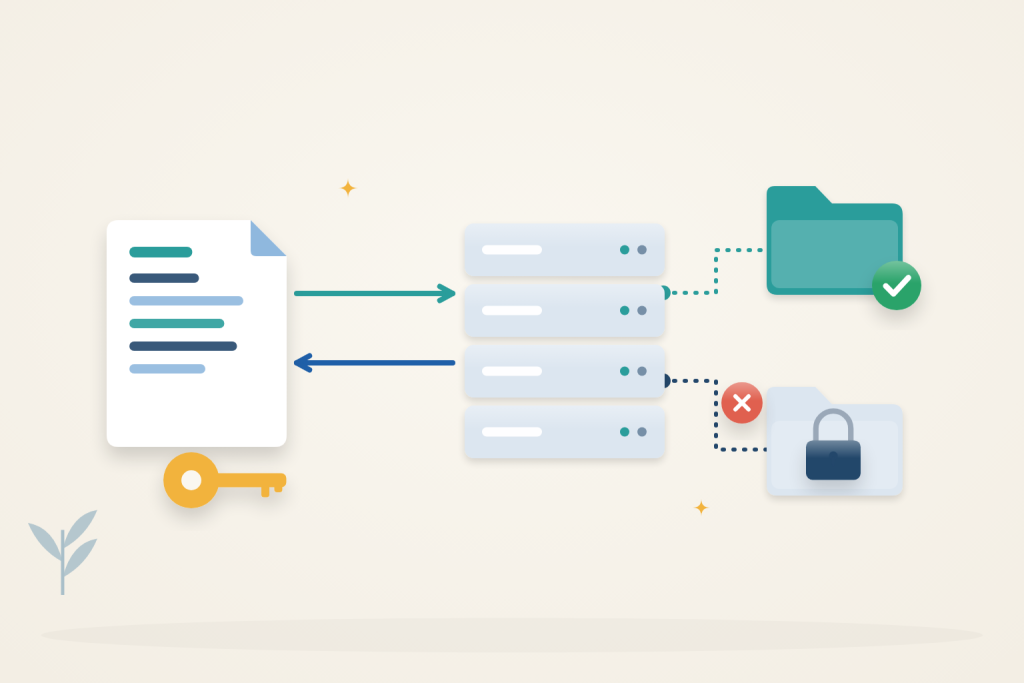
SFTPGo gives you file-transfer accounts without creating Linux logins. You can manage SSH keys, home directories and permissions from a browser while keeping server administration separate.
Use an Ubuntu 24.04 server with sudo access and Docker Engine with the Compose plugin installed. Your computer needs an OpenSSH client. An InterServer VPS is suitable for a small deployment; choose storage and memory for your file sizes and concurrent transfers. The Community edition supports this setup without a commercial license.
Private-port prerequisite: use Docker Engine 28 or newer for the loopback-published ports in this guide. Older releases have a documented localhost-port exposure limitation. Confirm from another machine that the public IP cannot reach those private service ports; a proxy login does not protect a direct bypass route.
Keep the three account roles separate
The Linux service account owns storage, the SFTPGo administrator manages configuration, and an SFTPGo transfer user receives a virtual filesystem and permissions. A successful login does not establish filesystem access. Check host ownership and the transfer user’s allowed operations separately.
1. Start SFTPGo with persistent storage
On the server, confirm Docker and Compose are available:
$ sudo docker version
$ sudo docker compose version
$ sudo install -d -m 0755 /opt/sftpgo
$ sudo install -d -o 1000 -g 1000 -m 0750 /opt/sftpgo/data /opt/sftpgo/state
$ cd /opt/sftpgo
The image runs as UID and GID 1000. Both directories must be writable by that identity. The data directory holds uploaded files; state holds the database and SSH host keys. Persist both so container replacement does not discard accounts or change the server’s identity.
Create /opt/sftpgo/compose.yaml:
services:
  sftpgo:
    image: drakkan/sftpgo:v2.7.6
    restart: unless-stopped
    ports:
      - "2022:2022"
      - "127.0.0.1:8080:8080"
    volumes:
      - ./data:/srv/sftpgo
      - ./state:/var/lib/sftpgo
Start the service:
$ sudo docker compose up -d
$ sudo docker compose ps
Allow inbound TCP port 2022 in your provider’s firewall, preferably only from the client networks that need access. Keep your normal SSH port available. Docker publishes port 2022 on the host’s interfaces; do not assume a UFW deny rule alone blocks Docker-published ports.
Port 8080 is bound only to the server’s loopback address. Do not open it publicly: the browser connection below travels through SSH instead.
2. Open the administration page securely
On your computer, open a separate terminal and replace SERVER_IP and ubuntu with your server address and sudo-enabled SSH username:
$ ssh -N -L 8080:127.0.0.1:8080 ubuntu@SERVER_IPLeave this terminal running. Open http://127.0.0.1:8080/web/admin in your computer’s browser. If local port 8080 is already occupied, change the first 8080 in the command to 8081 and use that port in the browser.
Create the first administrator with a unique username and strong password. This account manages SFTPGo; it is not a file-transfer account. The first-run setup page must remain private until the administrator exists. Subsequent visits require that administrator’s login.
3. Create an SSH-key file-transfer account
On your computer, generate a dedicated client key. Choose a passphrase when prompted and do not overwrite an existing key:
$ ssh-keygen -t ed25519 -f ~/.ssh/sftpgo_transfer
$ cat ~/.ssh/sftpgo_transfer.pub
Copy the entire public-key line, starting with ssh-ed25519. Never paste the private-key file into SFTPGo.
In WebAdmin, open Users and click Add. Set the username to transfer, leave the password empty, and add the public key. Leave Storage set to Local disk and set Root directory to /srv/sftpgo/data/transfer. These are paths inside the container, not paths on your computer.
Keep Status set to Active under Profile. Expand ACLs and leave * selected in Permissions for this upload account, then click Save. These permissions apply to the user’s root (/), which is their home directory, not the server’s filesystem root. SFTPGo creates the directory when the user first connects. Create other users with different home directories and their own public keys unless they intentionally need shared files.
4. Verify the server identity and transfer a file
From your existing administrator SSH session, obtain SFTPGo’s Ed25519 host-key fingerprint:
$ cd /opt/sftpgo
$ sudo ssh-keygen -lf /opt/sftpgo/state/id_ed25519.pub
On your computer, put a small file named upload.txt in your current directory, then connect:
$ sftp -P 2022 -i ~/.ssh/sftpgo_transfer transfer@SERVER_IPCompare the fingerprint at the first connection prompt with the fingerprint from the trusted administrator session before accepting it. Port 2022 belongs to SFTPGo; port 22 still belongs to the server’s normal SSH service.
At the SFTP prompt, run:
sftp> put upload.txt
sftp> ls
sftp> get upload.txt downloaded.txt
sftp> bye
Check that downloaded.txt has the same contents as your original. Uploaded files for this account live under /opt/sftpgo/data/data/transfer on the host. The repeated data is expected: the bind mount contains SFTPGo’s own data subdirectory.
Understand the path shown to the user
Inside the container, /srv/sftpgo is the host’s /opt/sftpgo/data directory. The user’s configured root adds data/transfer beneath that mount, which explains the host path with two data components. Do not replace it with your computer’s upload directory: the local upload file and the server-side root are on different machines.
The SFTP client sees the assigned root as /. That does not grant access to the host’s /etc, other users’ homes, or the SFTPGo state directory. Give separate users separate roots unless sharing is intentional. If two accounts point to the same root, account separation alone does not make the underlying files private from one another.
5. Limit a user to downloads
To make the account read-only, edit it in Users, expand ACLs, remove * from Permissions and select only list and download. Save, then reconnect with SFTP.
The existing file should still download, but a new upload or deletion should return Permission denied. Reopen the permissions and restore full access if this account should accept uploads again. Permissions are assigned separately to each SFTPGo user; Linux ownership alone does not express these application rules.
Test both sides of the read-only policy after reconnecting: downloading the existing file should still work, while uploading and deleting should not. A failed upload by itself is inconclusive if the account cannot even log in or the storage directory is unwritable. Restore the intended permission set after testing; do not leave a deliberately restricted test state on an account meant for uploads.
If login fails, check that the user is enabled, the matching public key was saved and the client is using port 2022. For startup or storage errors, inspect the service log:
$ cd /opt/sftpgo
$ sudo docker compose logs --tail=50 sftpgo
Close the tunnel with Ctrl+C when you finish administering the service. SFTP transfers remain available independently of the tunnel. Persistent directories survive container recreation, but they are not a substitute for backups.
Reference: SFTPGo Docker deployment. Check the documentation for your installed version before applying changes.
Related guides
How to Self-Host DocuSeal for Document Signing
Self-host DocuSeal with private administrator setup, PostgreSQL and HTTPS. Test signing, understand email data flows and create consistent backups.
DockerHow to Self-Host AFFiNE with Docker
Self-host AFFiNE with Docker and private initial setup. Check workspace persistence and understand the difference between local and server workspaces.
DockerHow to Run k3s on a Single VPS
Run k3s on a single VPS with HTTPS and persistent storage. Check rollout behavior, protect admin credentials and plan for single-node recovery limits.
DockerHow to Monitor Docker Image Updates with Diun
Monitor container image changes with Diun and ntfy. Configure a watch list, protect notification credentials and verify alerts without automatic updates.