
GICT knowledge base
How to Switch Hosting Providers With Zero Downtime
Published
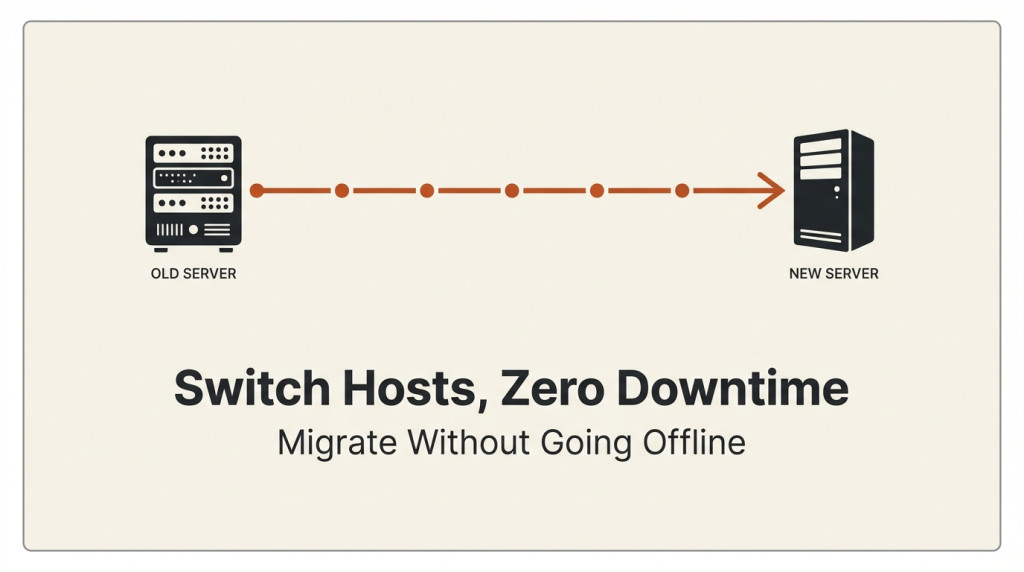
Your current host is charging too much, or the support is bad, or the performance is wrong, or you have simply outgrown them. You need to switch. But the site is live. Real users depend on it. Email flows through it. Downtime means lost revenue or lost trust.
This is the migration guide for people who cannot afford downtime. Not “minimize downtime.” Zero. The site stays up the entire time. Your users never see a hiccup.
It is more work than a slapdash migration. But it works.
Why “Zero Downtime” Is Achievable (And Most People Skip It)
DNS is the only thing that connects users to your server. As long as DNS resolves to a working server, users see your site. Even if the underlying server changes, DNS can point at the new server before the old one goes anywhere.
The migration flow:
- Old server still serving traffic
- New server set up with everything
- Sync data from old to new
- Switch DNS to new
- Wait for propagation
- Old server still serving anyone who has not updated DNS yet
- Decommission old server
Users never see a moment where the site is down. The DNS transition is seamless. The old server picks up the slack during propagation. By the time you turn off the old server, everyone is on the new one.
The hard part is keeping data consistent during the transition. Files, database, email – all need to end up on the new server without losing anything.
What to Migrate (Full Checklist)
Anything that lives on the old server must move to the new one.
1. Website files. Complete copy of the web root. Hidden files included. Verify file counts match.
2. Database. Full SQL dump with schema and data. MySQL, Postgres, MongoDB, whatever you use.
3. Email accounts and mailboxes. Mailbox contents, account credentials, aliases, forwarders. Often missed.
4. SSL certificates. Either custom certificates or Let’s Encrypt setup. Configure on the new host before going live.
5. Cron jobs. List every cron job, the schedule, and the command. Set them up on the new server.
6. Server configuration. Apache vhosts, Nginx server blocks, PHP config, custom modules. Hard to migrate if you do not control the server.
7. Application configuration. .env files, wp-config.php, database credentials, API keys. Often forgotten, always essential.
8. Backups. Make sure your backup process works on the new server before you migrate. Verify by restoring once.
9. DNS records. Screenshot or export. You will need them at switchover time.
10. Monitoring. Set up monitoring on the new server before cutover. Know if anything breaks.
This list looks long. Skipping any item is a risk. Do them all.
Phase 1: Set Up the New Host (Days Before Migration)
Step 1: Provision the new server. Same OS and stack as the old one, or upgrade deliberately. Same PHP version, same database engine, same control panel if relevant.
Step 2: Configure the basics. Hostname, firewall rules, SSH keys, time zone, system updates.
Step 3: Set up SSL. Either install your existing certificate or configure Let’s Encrypt. Verify HTTPS works on the new server’s IP.
Step 4: Set up monitoring. Uptime monitoring, resource monitoring, log monitoring. You want to know about issues before they affect users.
Step 5: Test the new server in isolation. Access it via IP address. Make sure everything works. Verify database connection. Test SSL.
Do not move any data yet. Just verify the new server is ready to receive it.
Phase 2: Migrate Data (Day of Migration)
Step 1: Take a full backup of the old server. Files, database, email, configuration. Save it somewhere that is not either server.
Step 2: Transfer files to the new server. Use rsync, scp, or your migration tool. Verify checksums match.
Step 3: Transfer database. Export from old, import to new. Verify row counts match. Verify a few sample queries.
Step 4: Transfer email. If using IMAP, use imapsync to copy mailboxes. If using maildir, copy the directories. Verify a few test emails.
Step 5: Transfer configuration. Cron jobs, server config, application config. Verify each.
Step 6: Test the new server with the migrated data. Use the new server’s IP address, not the domain. Browse the site. Test login. Send test email. Run a test cron job.
If anything is broken at this stage, fix it before proceeding. You want the new server to be a perfect mirror before DNS cutover.
Phase 3: Cut Over DNS
Step 1: Lower DNS TTL 24-48 hours in advance. Set the TTL on your A record to 300 seconds (5 minutes). This makes the eventual cutover fast.
Step 2: At migration time, update the A record. Point your domain at the new server’s IP address.
Step 3: Wait for DNS propagation. Typically minutes to 48 hours. Most resolvers pick up changes within an hour. Some are slower.
Step 4: Monitor both servers. During propagation, some users hit the old server, some hit the new. Both should work. Watch for errors.
Step 5: Keep the old server running. Do not turn it off. Some users will still be hitting it for up to 48 hours.
Step 6: Verify everything is working on the new server. Check logs, check error rates, check email flow, check cron execution.
If something is broken on the new server, you can revert DNS to the old server. That is the safety net. As long as the old server is still running, you can always go back.
Phase 4: Decommission the Old Server
Step 1: Wait at least one week after cutover. By this point, almost all users are on the new server. Some DNS caches might still be slow.
Step 2: Verify traffic patterns. Check the old server’s logs. Is anyone still hitting it? If yes, do not decommission yet.
Step 3: Take a final backup of the old server. Just in case. Store somewhere safe.
Step 4: Cancel the old hosting account. After the renewal period, cancel. Make sure you get confirmation.
Step 5: Monitor the new server closely. For the first week after decommissioning, watch for any issues. Some users will eventually try the old server and fail. That is normal and resolves itself.
Do not cancel the old server before the new one is proven. Do not decommission before traffic has fully migrated. Both mistakes are common.
The Data Sync Problem
The hardest part of zero-downtime migration is keeping data consistent. If users are creating content on the old server during the migration, that content does not exist on the new server.
Strategies:
1. Read-only period. Take the old site read-only for a few hours during the migration. Users can browse but not create. Simple but disruptive.
2. Database replication. Set up replication from old to new during the cutover. Anything written to old is replicated to new. Then switch DNS. More complex but cleaner.
3. Maintenance window. Announce a 30-minute window during which the site may be slow or unavailable. Most users tolerate this. Not zero downtime but practical.
4. Eventual consistency. Accept that the new server might be a few minutes behind the old during cutover. Any writes during that window are lost. Best for read-heavy sites.
For most sites, a 30-minute maintenance window during off-peak hours is the practical answer. “Zero downtime” is achievable but adds significant complexity. Most teams overestimate how much downtime their users can tolerate. A short announced window is usually fine.
Specific Strategies for Common Setups
WordPress sites. Use a migration plugin (All-in-One WP Migration, Duplicator, WP Migrate). These bundle files and database into a single file you can import on the new server. SSL certificates usually regenerate. Configure permalinks after import.
Static sites. Simple. Copy files. Update DNS. Done. Can be done with rsync and zero maintenance window.
Node apps / Python apps / Go apps. More complex because of dependencies. Set up the same runtime versions. Use rsync for files. Test thoroughly before cutover.
Custom apps with databases. Dump database, transfer, import. Test thoroughly. Watch for character encoding issues (especially if old and new servers have different MySQL configurations).
Email-heavy setups. Migrate during a low-email period. Use imapsync for mailbox migration. Test sending and receiving before cutover.
Each workload has its own quirks. The general pattern is the same; the specific steps differ.
What to Do If Something Goes Wrong
The whole point of keeping the old server running is rollback. If anything is broken on the new server, you can switch back.
Symptoms that warrant rollback:
- New server returning 500 errors
- Database queries failing
- Email not delivering
- Critical functionality broken
- Significant performance regression
Rollback procedure:
- Update DNS A record back to old server
- Wait for propagation (faster the second time, since TTL is now low)
- Investigate what went wrong on the new server
- Fix it
- Try again later
You can do this any time during the migration window. The cost is a few hours of investigation. The benefit is you never have an outage.
The trick: only do rollback if the issue is significant. Small issues can be fixed on the new server without rolling back DNS.
Common Mistakes to Avoid
A few things that go wrong regularly.
Migrating too fast. Rushing causes mistakes. Plan days, not hours.
Lowering TTL after DNS change. Lower TTL first. Then change DNS. Reversed order means slow propagation.
Skipping the test restore. Backup looks fine until you try to restore it.
Forgetting email. Site works, email does not. Customer-facing disaster.
Canceling the old host too soon. DNS still pointing there, old host canceled, site goes down.
Not communicating. Users hit unexpected downtime. Tell them in advance.
Changing too many things at once. Migration is risky enough. Do not also change your CMS, your theme, and your database structure at the same time. One change per migration.
Avoid these. Your migration will be smoother.
A Pre-Migration Timeline
If you have a week before migration, here is the schedule.
Day 1: Plan. Document everything on the old server. List what needs to migrate. Schedule the cutover window.
Day 2: Provision new server. Install OS, stack, control panel. Configure basics.
Day 3: Lower DNS TTL. Set A record TTL to 300 seconds. Wait 24-48 hours for propagation.
Day 4: Test new server in isolation. Use IP, not domain. Verify everything works.
Day 5: Migrate data. Files, database, email, config. Test thoroughly on the new server.
Day 6: Cutover day. Update DNS A record. Monitor both servers. Keep old running.
Day 7: Verify migration. Check everything is working on the new server. Monitor for issues.
Day 8+: Decommission old server. After 1 week of stable operation on the new server.
For larger migrations, spread this over 2-4 weeks. For simple migrations, compress to 2-3 days. Adjust based on complexity.
Conclusion
Zero downtime migration is achievable but it is work. The general pattern is the same for everyone: prepare the new server, migrate data, cut over DNS, keep the old server as backup, decommission after a week.
Most migrations do not need zero downtime. A 30-minute announced maintenance window during off-peak hours is fine for most sites. The complexity of true zero-downtime migration is only justified for sites where every minute of downtime costs real money.
Whatever approach you take, the basics do not change. Backup everything. Test the new server. Roll DNS slowly. Keep the old server running. Verify after migration.
Do not skip the boring parts. They are what make migration routine instead of catastrophic. A well-planned migration is a 2-hour project. A poorly-planned one is a 2-week disaster. The difference is in the work you do before the cutover.
Related guides
How to Self-Host DocuSeal for Document Signing
Self-host DocuSeal with private administrator setup, PostgreSQL and HTTPS. Test signing, understand email data flows and create consistent backups.
Self HostedHow to Self-Host Docmost with Docker on Ubuntu 24.04
Install Docmost with Docker, PostgreSQL and Redis. Set up a private workspace and verify editing, live updates and attachment retrieval.
Self HostedHow to Remove Image Backgrounds Locally with rembg
Remove image backgrounds locally with rembg. Preserve originals, check PNG transparency and inspect cutout quality on both light and dark backgrounds.
Self HostedHow to Translate Text Offline with Argos Translate
Translate plain text locally with Argos Translate. Install a language pair, prepare caches, verify offline operation and review translation quality.