
GICT knowledge base
How to Convert Text to Speech Locally with Piper
Published
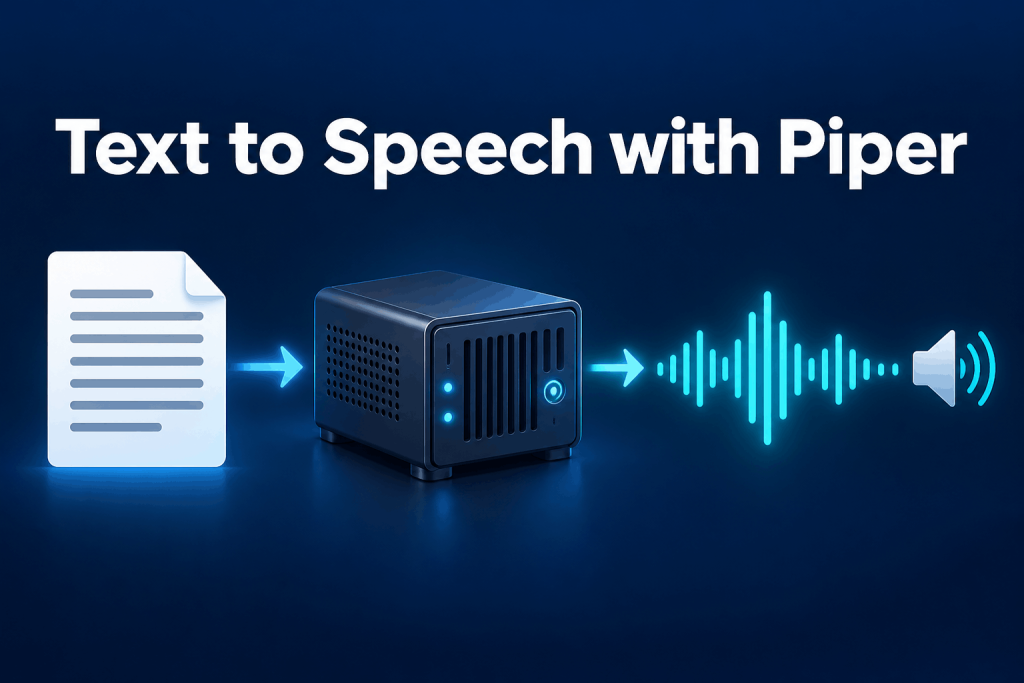
Short narration does not require a subscription to a speech API. Piper generates speech from a downloaded voice model, so the text can stay on the machine where you run it. The output is a WAV file you can listen to.
This guide installs Piper in a Python virtual environment, generates a short clip and a longer narration, and checks the resulting audio.
Choose a CPU machine and a voice
Use Ubuntu 24.04 LTS with SSH access, a regular user with sudo privileges, and an internet connection for the initial package and voice downloads.
Start with two vCPUs, 4 GB of RAM, and a few gigabytes of free disk for this single-voice workflow. That is a practical starting configuration, not a guarantee of performance under concurrent jobs.
If you do not already have a VPS, choose an interServer VPS with comparable resources. A VPS is useful for repeat jobs and shared access to generated files. For occasional narration, your own Linux computer is also sufficient; there is no reason to rent a server solely for one clip. A GPU is not required for this procedure.
We use en_US-ljspeech-medium, a single-speaker US-English voice. Its model card identifies the source dataset as public domain. Check the model card for any replacement voice instead of assuming all voices have the same terms. The Piper engine has its own GPL-3.0 license, separate from voice metadata.
Run server commands in the same SSH session unless stated otherwise. The $ characters identify terminal prompts; do not copy them.
Install Piper in its own environment
Install the system prerequisites. This does not change Python packages used by other applications:
$ sudo apt-get update
$ sudo apt-get install -y python3-venv python3-pip nano time
$ mkdir -p ~/piper-demo
$ cd ~/piper-demo
$ python3 -m venv .venv
$ source .venv/bin/activate
$ python -m pip install 'piper-tts==1.8.0'
$ python -m pip show piper-tts
The package name is piper-tts, not an unrelated package named piper. Pinning the version makes the following CLI options reproducible. There is no need to install the training extras, PyTorch, or GPU runtime for this tutorial.
Create separate model and output directories, then download the selected voice:
$ mkdir -p voices output
$ python -m piper.download_voices --data-dir voices en_US-ljspeech-medium
$ ls -lh voices
Keep both en_US-ljspeech-medium.onnx and en_US-ljspeech-medium.onnx.json. The first holds the neural model; the second provides the audio and phoneme configuration. The model file alone is not a complete installation.
Generate a short WAV file
Use an explicit output file, especially on a headless VPS with no speakers:
$ python -m piper --data-dir voices -m en_US-ljspeech-medium -f output/hello.wav -- 'This is a short test. The speech was generated locally with Piper.'The -- separates options from the text. It prevents text beginning with a hyphen from being interpreted as another command option. Quoting keeps the sentence together. For paragraphs with quotation marks or shell-sensitive characters, use a text file in the next section instead of building a long shell command.
Copy the audio to your own computer for playback. Run this command in a local terminal, replacing the username and address with your VPS login:
$ scp your-user@your-server:~/piper-demo/output/hello.wav ./hello.wavUse the SSH host key you verified when first connecting to the VPS; do not disable host-key checks for this transfer. Open the downloaded WAV in your usual audio player. Listen for the whole sentence, not merely the presence of sound. When running Piper on your own computer, open output/hello.wav directly instead.
Read a text file and adjust the pace
On the server, create ~/piper-demo/narration.txt with nano narration.txt and paste these contents:
Welcome to the server status update. The maintenance window begins at three thirty in the morning, Coordinated Universal Time. We will restart two services and check the website again. Your files will remain on the server. Please keep a recent backup before making changes.Save the file as UTF-8 plain text. Writing the time and abbreviation as spoken words makes the intended reading explicit. A text-to-speech engine does not necessarily expand every acronym or date the way your audience expects.
Generate the narration and measure the whole process, including model loading:
$ /usr/bin/time -f 'Elapsed: %e s; peak memory: %M KiB' python -m piper --data-dir voices -m en_US-ljspeech-medium -f output/narration.wav --input-file narration.txtOur two-vCPU TeamCompute VM returned:
Elapsed: 3.24 s; peak memory: 254292 KiBThat is about 248 MiB of peak process memory for this clip, not the memory needed by the entire operating system. The VM had 3 GB of allocated RAM; the suggested 4 GB VPS leaves additional headroom. This is a TeamCompute test result, not an interServer hardware benchmark.
The elapsed time is not the length of the resulting audio. It is the time the command took to produce it. Run the next command to make a slower alternative:
$ python -m piper --data-dir voices -m en_US-ljspeech-medium -f output/slower.wav --length-scale 1.2 --input-file narration.txtA larger length scale stretches the speaking pace. Compare the two files by listening before choosing one; an extreme value can make delivery unnatural. Each invocation loads the voice again, so these measurements represent one-shot command-line generation, not the throughput of a persistent speech service.
Check the files before using them
Create ~/piper-demo/inspect_audio.py with nano inspect_audio.py and these contents:
from pathlib import Path
import wave

for path in sorted(Path("output").glob("*.wav")):
    with wave.open(str(path), "rb") as wav:
        duration = wav.getnframes() / wav.getframerate()
        print(f"{path.name}: {duration:.2f}s, {wav.getframerate()} Hz, "
              f"{wav.getnchannels()} channel(s), "
              f"{wav.getsampwidth() * 8}-bit PCM")
Run it from the project directory:
$ python inspect_audio.pyFor this voice, expect mono, 22,050 Hz, 16-bit PCM WAV files. The slower version should have a longer duration. These checks detect missing or unreadable files and show their format; they cannot tell you whether pronunciation or phrasing is correct. Listen to the full narration before publishing it, particularly names, numbers, abbreviations, and sentence endings.
After the packages and both voice files are downloaded, synthesis can run without internet access. The text is processed locally in this CLI workflow. That does not make files invisible to other users with access to your VPS or to software you later upload them to.
Fix missing models and awkward speech
- Model not found: return to
~/piper-demoand activate.venvin a new shell. The relativevoicespath is resolved from your working directory, not from the virtual environment. - Missing JSON configuration: keep the
.onnx.jsonfile beside its matching.onnx. Redownload the selected voice if either file was moved or lost; do not borrow a configuration from another voice. - No audible playback on the server: generation with
-fwrites a file. It does not play through your laptop speakers. Download the file using SCP and open it locally. - Incorrect pronunciation: rewrite ambiguous numbers and abbreviations as spoken words, add punctuation, or try a better-suited voice. Changing the pace alone does not repair a mispronounced name.
- Slow long-form work: test a representative paragraph before submitting a large document. Do not start many simultaneous jobs on a small VPS; each process loads its own model and competes for CPU and memory.
When Piper is not the right voice
Piper is useful for private drafts, straightforward instructions, and repeatable file generation. It is not a substitute for a narrator who can interpret emphasis, tone, or a difficult script. A commercial voice service or human recording may be preferable when delivery quality matters more than keeping processing local.
This guide generates stock-voice narration, not a clone of a particular person. It also does not build a public speech API. Keep the useful boundary: text file in, reviewed WAV file out. Once the model is cached, you can repeat that workflow on a CPU VPS without sending each script to a hosted inference service.
Related guides
How to Self-Host DocuSeal for Document Signing
Self-host DocuSeal with private administrator setup, PostgreSQL and HTTPS. Test signing, understand email data flows and create consistent backups.
Self HostedHow to Self-Host Docmost with Docker on Ubuntu 24.04
Install Docmost with Docker, PostgreSQL and Redis. Set up a private workspace and verify editing, live updates and attachment retrieval.
Self HostedHow to Remove Image Backgrounds Locally with rembg
Remove image backgrounds locally with rembg. Preserve originals, check PNG transparency and inspect cutout quality on both light and dark backgrounds.
Self HostedHow to Translate Text Offline with Argos Translate
Translate plain text locally with Argos Translate. Install a language pair, prepare caches, verify offline operation and review translation quality.