
GICT knowledge base
How to Self-Host Online Booking with EasyAppointments
Published
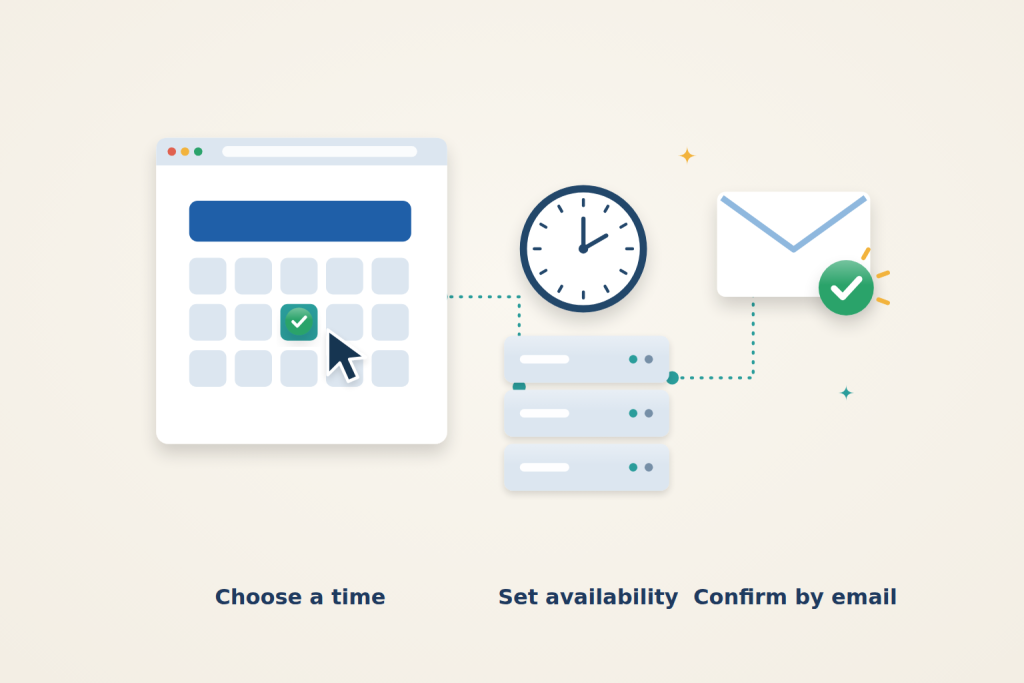
EasyAppointments gives customers a booking page where they can choose a service, provider and available time. Your staff manage the resulting appointments in a browser calendar. You can run it alongside your existing website without adding a WordPress plugin.
Before you start
Use a fresh Ubuntu 24.04 server with sudo access. An InterServer VPS with 2 vCPUs and 2–4 GB RAM is a reasonable starting point for a small booking site; allow more capacity as traffic grows. This setup uses EasyAppointments 1.6.0, Nginx, PHP 8.3 and MariaDB.
You need a booking hostname pointing to the server, an existing trusted TLS certificate for that hostname, and SMTP credentials for notification emails. The examples use booking.example.com and certificate files under /etc/letsencrypt/live/booking.example.com/. Substitute your domain and certificate paths. Have HTTPS ready before entering administrator or customer details.
Keep the installer restricted to your public IP until the administrator account exists. The example address 198.51.100.10 must be replaced with the public IP of the computer running your browser.
1. Install the web server and PHP
$ sudo apt update
$ sudo apt install -y nginx mariadb-server php8.3-fpm php8.3-mysql php8.3-curl php8.3-mbstring php8.3-gd php8.3-xml php8.3-zip unzip curl
$ sudo systemctl enable --now nginx mariadb php8.3-fpm
Keep the database local. It does not need an internet-facing port. The PHP extensions above include those required by the application and its bundled libraries.
2. Create the application database
Open the database shell:
$ sudo mariadbRun the following SQL. Replace REPLACE_WITH_A_LONG_RANDOM_PASSWORD with a unique password, and keep it for the application configuration. A long password containing letters and numbers avoids SQL/PHP quoting mistakes.
CREATE DATABASE easyappointments CHARACTER SET utf8mb4 COLLATE utf8mb4_unicode_ci;
CREATE USER 'appointments'@'localhost' IDENTIFIED BY 'REPLACE_WITH_A_LONG_RANDOM_PASSWORD';
GRANT ALL PRIVILEGES ON easyappointments.* TO 'appointments'@'localhost';
EXIT;
The account can manage this application’s database, not every database on the server. Do not put MariaDB’s administrative credentials into the application.
3. Download and configure EasyAppointments
Download the packaged release, which includes its production dependencies:
$ cd /tmp
$ curl -fL https://github.com/alextselegidis/easyappointments/releases/download/1.6.0/easyappointments-1.6.0.zip -o easyappointments-1.6.0.zip
$ sha256sum easyappointments-1.6.0.zip
The SHA-256 value must be:
299f8da75583ea185992ece4ac0b10e98f673825edbf75116446d99001911e60If it differs, stop and check the download against the official release before extracting it. Do not use the GitHub source-code archive in place of this packaged ZIP.
$ sudo install -d -m 0755 /var/www/easyappointments
$ sudo unzip -q easyappointments-1.6.0.zip -d /var/www/easyappointments
$ sudo cp /var/www/easyappointments/config-sample.php /var/www/easyappointments/config.php
$ sudoedit /var/www/easyappointments/config.php
Replace /var/www/easyappointments/config.php with:
<?php
class Config
{
    const BASE_URL = 'https://booking.example.com';
    const LANGUAGE = 'english';
    const DEBUG_MODE = false;
    const DB_HOST = 'localhost';
    const DB_NAME = 'easyappointments';
    const DB_USERNAME = 'appointments';
    const DB_PASSWORD = 'REPLACE_WITH_A_LONG_RANDOM_PASSWORD';
}
Use the database password from step 2. Keep the base URL free of a trailing slash. Set permissions so PHP can read the application but only write to its storage directory:
$ sudo chown -R root:www-data /var/www/easyappointments
$ sudo find /var/www/easyappointments -type d -exec chmod 0755 {} +
$ sudo find /var/www/easyappointments -type f -exec chmod 0644 {} +
$ sudo chown -R www-data:www-data /var/www/easyappointments/storage
$ sudo chmod 0640 /var/www/easyappointments/config.php
Do not make the entire application writable by the web server.
4. Add the HTTPS site
Create /etc/nginx/sites-available/easyappointments with the following contents. Replace both the hostname/certificate paths and the temporary administrator IP.
server {
    listen 443 ssl;
    server_name booking.example.com;
    root /var/www/easyappointments;
    index index.php;

    ssl_certificate /etc/letsencrypt/live/booking.example.com/fullchain.pem;
    ssl_certificate_key /etc/letsencrypt/live/booking.example.com/privkey.pem;

    allow 198.51.100.10;
    deny all;

    location / {
        try_files $uri $uri/ /index.php?$query_string;
    }

    location ~ ^/(application|system|vendor|storage)(/|$) {
        return 404;
    }

    location ~* ^/(config|composer|README|CHANGELOG|LICENSE) {
        return 404;
    }

    location ~ ^/index\.php(/|$) {
        fastcgi_split_path_info ^(.+\.php)(/.*)$;
        include fastcgi_params;
        fastcgi_param SCRIPT_FILENAME $document_root/index.php;
        fastcgi_param PATH_INFO $fastcgi_path_info;
        fastcgi_pass unix:/run/php/php8.3-fpm.sock;
    }

    location ~ \.php$ {
        return 404;
    }

    location ~ /\. {
        return 404;
    }
}

server {
    listen 80;
    server_name booking.example.com;
    return 301 https://booking.example.com$request_uri;
}
Only the front controller executes PHP. Internal application directories, configuration files and dependency metadata are not served as downloads. Nginx does not process Apache .htaccess rules, so these restrictions belong in the site configuration.
$ sudo ln -s /etc/nginx/sites-available/easyappointments /etc/nginx/sites-enabled/easyappointments
$ sudo nginx -t
$ sudo systemctl reload nginx
Continue only after the configuration check succeeds. If your server firewall is active, allow incoming HTTP/HTTPS using your existing firewall policy; do not remove the SSH rule.
5. Complete the installation wizard
Open https://booking.example.com from the allowed computer. Enter a unique administrator username, a strong password, your name and email, and your business name, email and website. Click Install Easy!Appointments. The administration calendar opens after installation. Bookmark https://booking.example.com/index.php/user/login for future staff logins.
The installer creates sample records. Replace the sample service and provider rather than leaving them bookable. Remove the sample customer before real customers start using the site.
Open your name menu, choose Settings, then select General Settings. Check the business details, date/time format and default time zone. Choose the zone where appointments take place, not merely the server’s zone. Verify the provider’s time zone as well; a correct server clock does not fix an incorrectly selected appointment zone.
6. Set your service and working hours
Open Services and click the sample service to edit it. Give it a meaningful name, such as Consultation, set a 30-minute duration, and set the number of attendants to 1 for one-to-one appointments. Save it.
Open Users → Providers, click the sample provider, and replace the name, email, username and password. Assign the Consultation service to that provider. Set their time zone on the Details tab. On Working Plan, enable working days and set start/end times and breaks, then click Save.
The provider’s working plan controls the appointment slots they can accept. Set it explicitly rather than assuming a later change to company-wide defaults will update an existing provider. Start with one provider and one service so you can verify the schedule before expanding it.
7. Configure notification email
Edit /var/www/easyappointments/application/config/email.php. Keep its opening PHP guard and set these configuration entries, replacing the SMTP details with those supplied by your email provider:
$config['useragent'] = 'Easy!Appointments';
$config['protocol'] = 'smtp';
$config['mailtype'] = 'html';
$config['smtp_auth'] = true;
$config['smtp_host'] = 'smtp.example.com';
$config['smtp_port'] = 587;
$config['smtp_crypto'] = 'tls';
$config['smtp_user'] = 'bookings@example.com';
$config['smtp_pass'] = 'REPLACE_WITH_SMTP_PASSWORD';
$config['from_name'] = 'Example Appointments';
$config['from_address'] = 'bookings@example.com';
$config['crlf'] = "\r\n";
$config['newline'] = "\r\n";
Use the provider’s actual port and encryption mode. Port 587 with tls means STARTTLS; it is not interchangeable with implicit TLS on port 465. Use an authorized From address and keep the business email consistent with it.
$ sudo chmod 0640 /var/www/easyappointments/application/config/email.phpIn Settings → Booking Settings, enable Customer Notifications and save. Keep Notifications enabled on the provider’s Details tab. A saved appointment is not proof that an email reached its recipient; check both the booking calendar and the mailbox.
8. Make and check a customer booking
Open the booking page in a private browser window. With one service and one provider, EasyAppointments selects them automatically and opens the date/time step. Otherwise, choose the service and provider first. Select a future working day and a free time, enter test customer details and complete the booking.
Confirm all of the following before sharing the link:
- The booking summary and notification email show the intended service, provider and appointment time.
- The appointment appears in the administrator calendar at the correct time.
- A second customer cannot choose the occupied slot for that same provider.
- Breaks and closed days do not offer appointment slots.
- The customer and provider receive the expected notification email.
Use the View/Change link in the customer’s notification email to reschedule the test booking. Choose a future date and time, review the summary, and click Update. Then reopen the link and use Delete to cancel the booking; enter a reason and confirm. Confirm the calendar changes and that a cancelled slot becomes available again. Treat management links as private: anyone with a valid link may be able to manage that booking.
Once the checks pass, remove the temporary allow 198.51.100.10; and deny all; lines from the Nginx site. Leave the internal-directory restrictions in place, then validate and reload:
$ sudo nginx -t
$ sudo systemctl reload nginx
Visit the booking page from another connection, and add that HTTPS URL to your website’s Book an appointment button. Keep administrator credentials private; customers use the public booking page, not the administration login.
If something does not work
The installer returns 403: the temporary IP restriction does not match your browser’s current public address. Correct that one address; do not expose an unfinished installer.
Database connection fails: check the database name, local account and password in config.php. Keep DB_HOST as localhost for the account created above.
The page loads but there are no slots: check the provider’s assigned service, their working plan and breaks, the date, and the booking advance limits. Also check whether a booking or unavailable period already occupies the time.
A booking exists but no email arrives: check the SMTP settings and application logs under /var/www/easyappointments/storage/logs/. Verify the sender is permitted and inspect the recipient’s spam folder. Do not keep creating duplicate appointments to test an email problem.
Nginx returns 502: verify PHP-FPM is running and that the socket in the Nginx configuration matches PHP 8.3. Configuration errors can be checked with:
$ sudo systemctl status php8.3-fpm --no-pager
$ sudo nginx -t
Your booking page is ready when a customer can reserve a valid slot, staff can see it, and the notification and cancellation paths work as expected.
Reference: EasyAppointments documentation. Check the documentation for your installed version before applying changes.
Related guides
Plan a Safe Redis-to-Valkey Migration
Plan a Redis-to-Valkey migration: check version compatibility, rehearse recovery, stop writers for cutover and protect against lost writes during rollback.
Web HostingHow to Benchmark a VPS with fio and sysbench
Benchmark a VPS with fio and sysbench. Choose repeatable workloads and interpret storage latency, CPU scaling, memory caches and steal time carefully.
Web HostingHow to Set Up Meilisearch with Docker
Run Meilisearch with Docker, index sample documents and create restricted search keys. Verify asynchronous tasks, persistence and access boundaries.
Web HostingHow to Collect Nginx Logs with Vector
Collect Nginx logs with Vector, parse structured fields and verify fresh events. Understand checkpoints, rotation and delivery limitations.