
GICT knowledge base
How to Upgrade Server Resources?
Published
Is your personal InterServer VPS is running out of resources like disk space, RAM memory, etc and also is your monthly bandwidth not sufficient for your websites to run your websites then it is definitely the time for a slice upgrade. Why have to think twice, upgrade your server to get more resources so that your websites on the VPS would get more resources and results in better performance after the slice upgrade. You can easily upgrade the server resources from the my.interserver.net customer panel itself.
We will guide you the steps on how to upgrade your VPS slice.
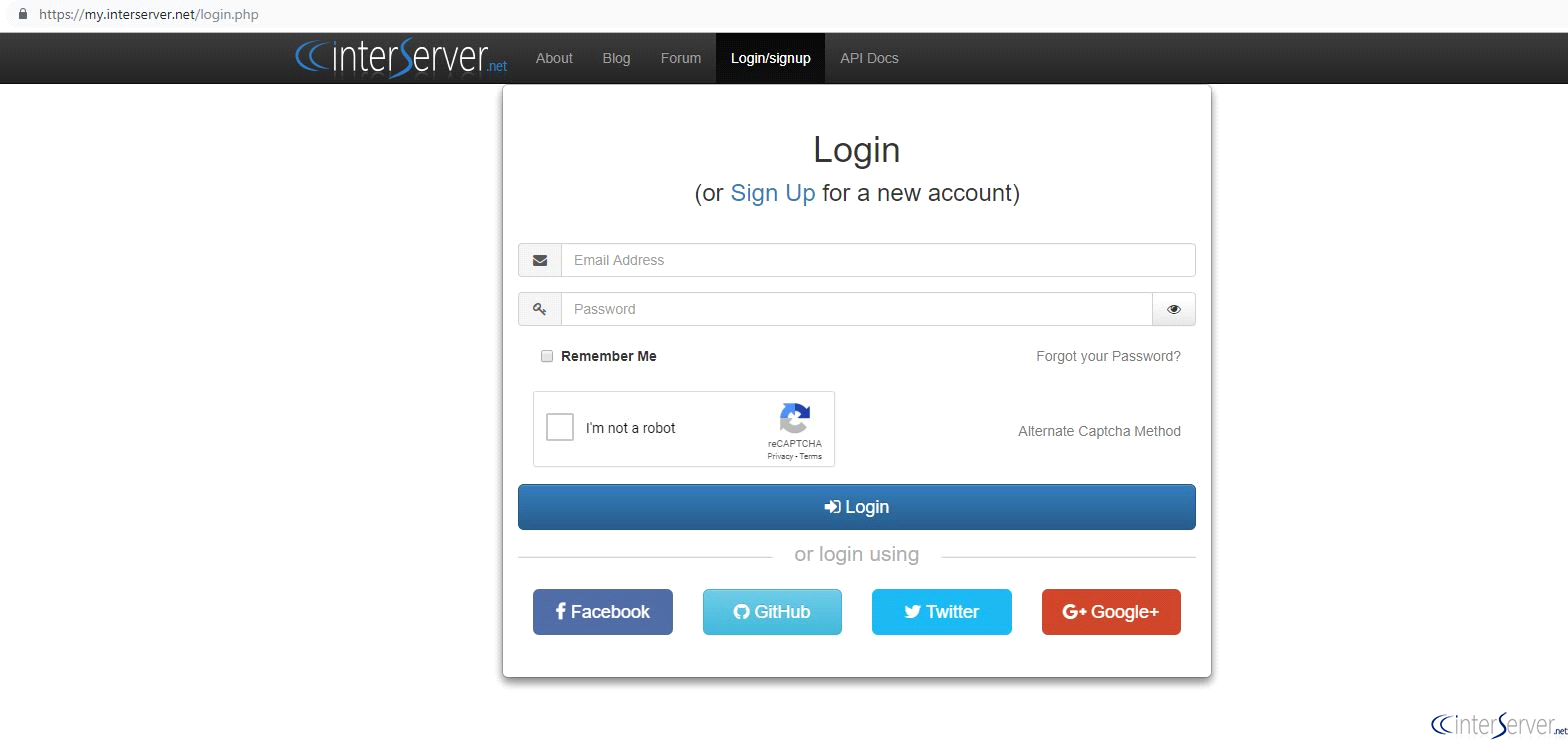
1) Login to your my.interserver.net customer portal using the registered email ID and password.
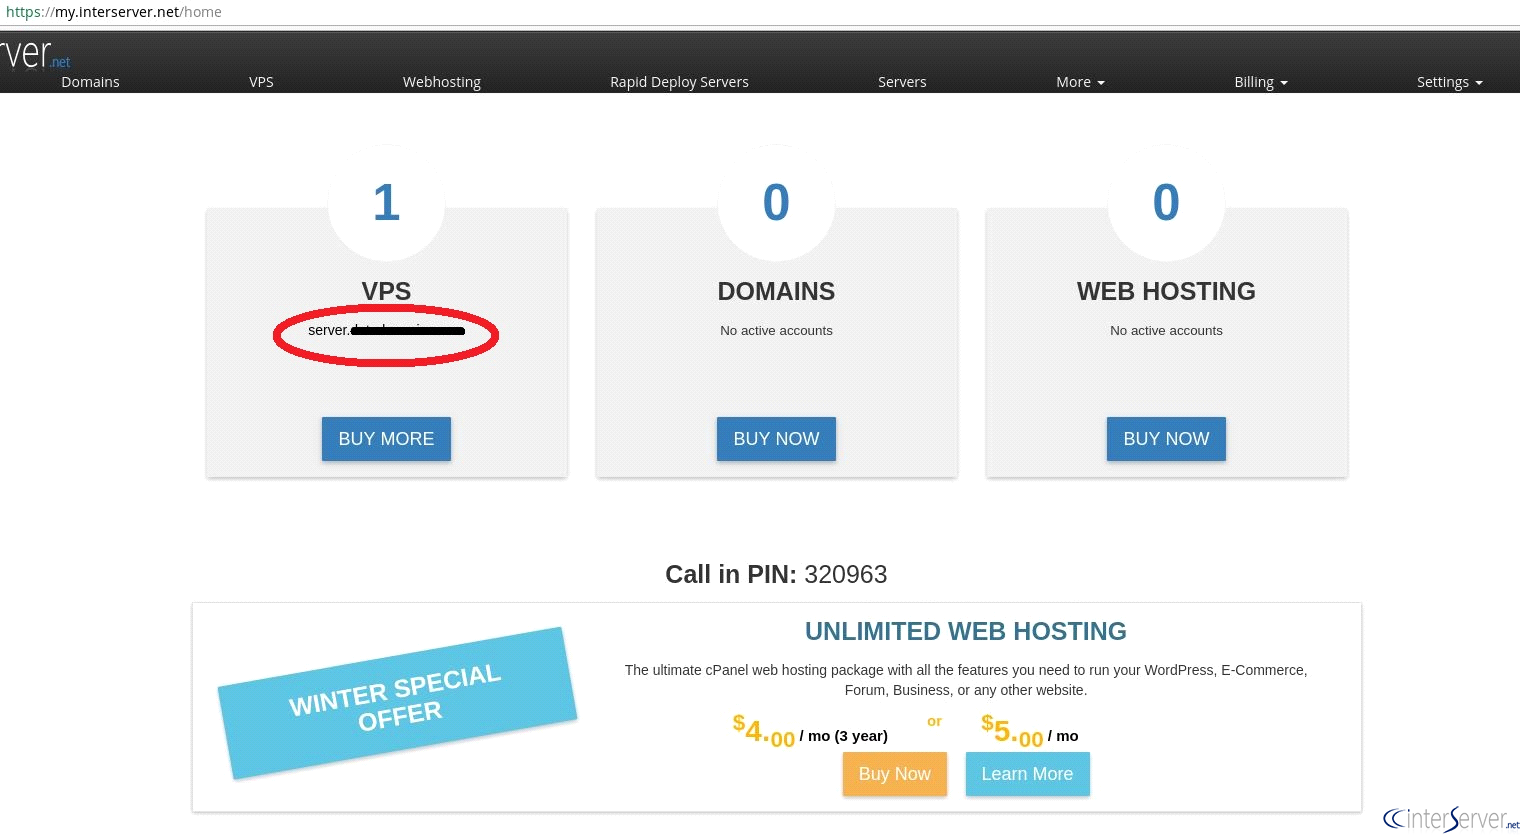
2) Click on your VPS hostname in which you wanted to upgrade the slice.
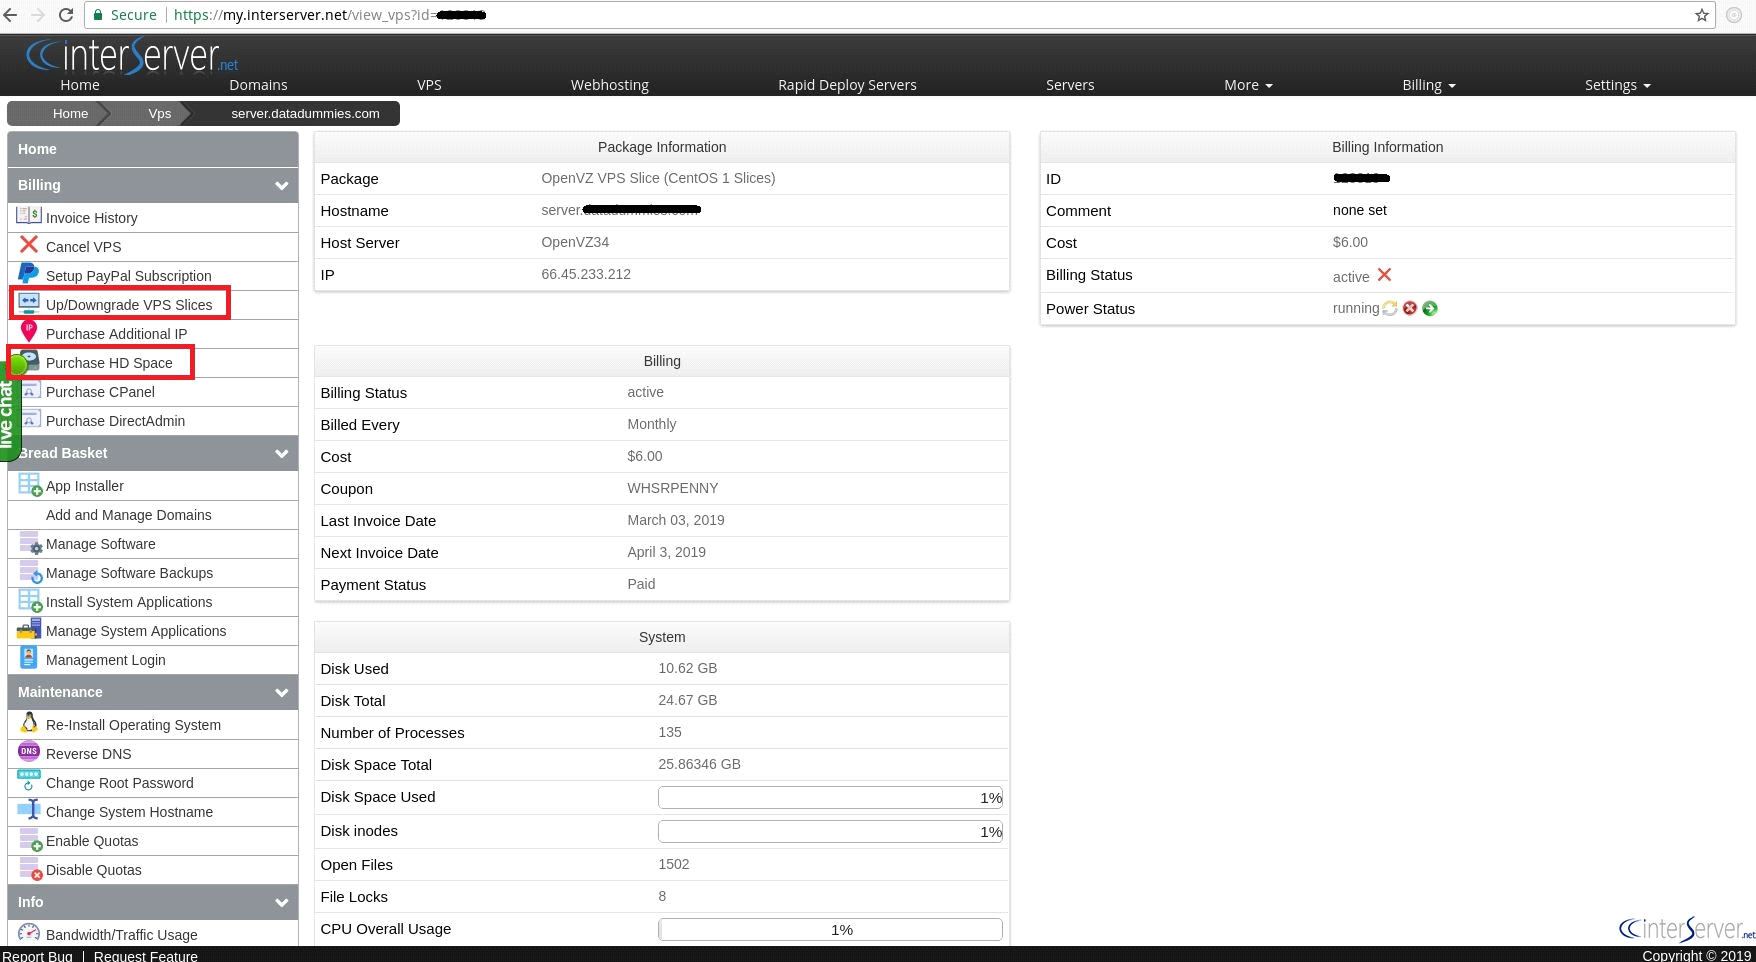
3) Now you here you can see there is an option to upgrade slice at the left column. Please refer the screenshot for the same. Click on “Up/Downgrade VPS slices” If you just wanted additional disk space only then you can click on “Purchase HD space”.
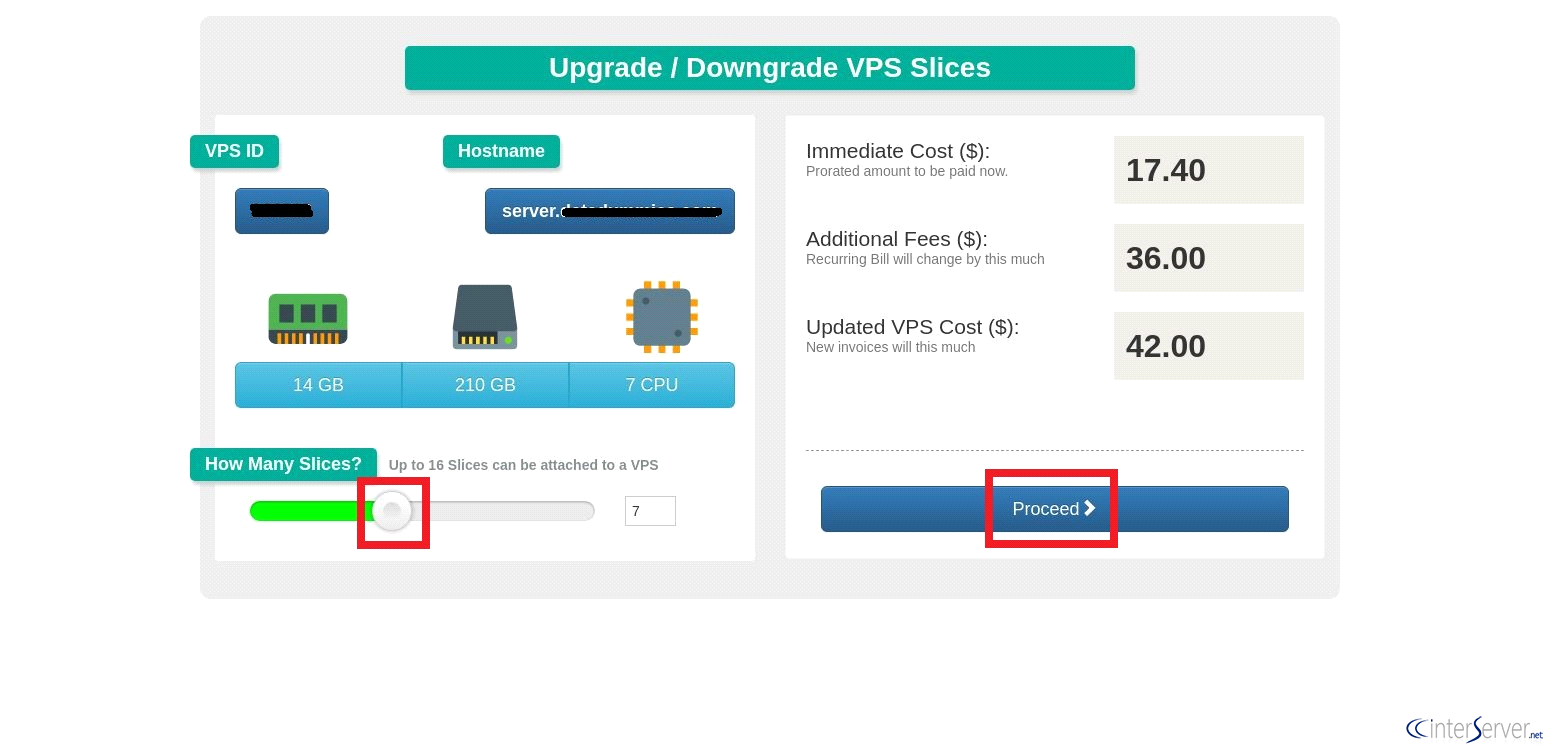
4) If you are opting for slice upgrade then go ahead click on “Up/Downgrade VPS slices” and then a new screen would be opened in you can see the following option to upgrade slice. If you scroll the scroll bar to the right you can see the RAM, disk space and CPU core are changing on each slice. Upgrade to 4 slices and above to get our managed support as the VPS slices below 4 comes under unmanaged support. You can upgrade the slice from 1 to 16. Then click on “Proceed” and make the payment and your server will be upgraded with more resources.
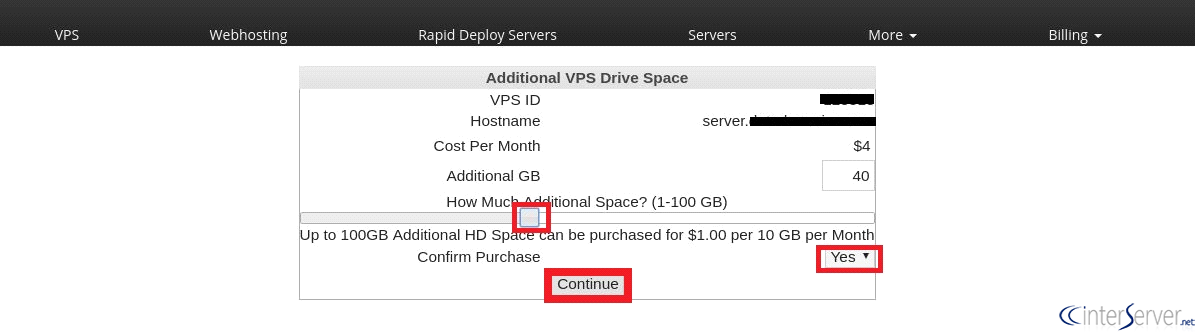
5) If you just wanted to purchase additional disk space and don’t want any upgrade in the server CPU or RAM then click on purchase “Additional HD space” as mentioned in step 3. Once you have clicked that the following window will appear and then you can select additional disk space by scrolling the scroll button to the right as shown in the screenshot. You can purchase additional disk space up to 100 GB. Once you have selected the disk space, select the confirm purchase as “Yes” and then click on continue and make the payment and you would get the additional disk space added on your server.
If you need any further help, please do reach our support department.
Related guides
What Good Hosting Support Actually Looks Like
What good hosting support looks like in 2026: quick first response, real engineers, public status pages, transparent postmortems, and how to test support quality before...
Account Basics7 Common Hosting Mistakes Beginners Make (And How to Avoid Them)
7 common hosting mistakes beginners make in 2026: no backups, ignored updates, bad host choice, weak passwords, single point of failure, no staging. With fixes for each.
Account BasicsWhat Is Uptime (And Why 99.9% Isn’t Always 99.9%)
What uptime really means in 2026: the math behind 99.9%, why providers' promises diverge from reality, how to measure real uptime with external monitoring, and what SLA...
Account BasicsHow to Check a Hosting Provider’s Reputation Before You Buy
How to check a hosting provider's reputation in 2026: the five reliable sources, how to spot fake reviews, communities to actually read, red flags, green flags, and a...