
GICT knowledge base
How to Sync Files Between Servers with Syncthing
Published
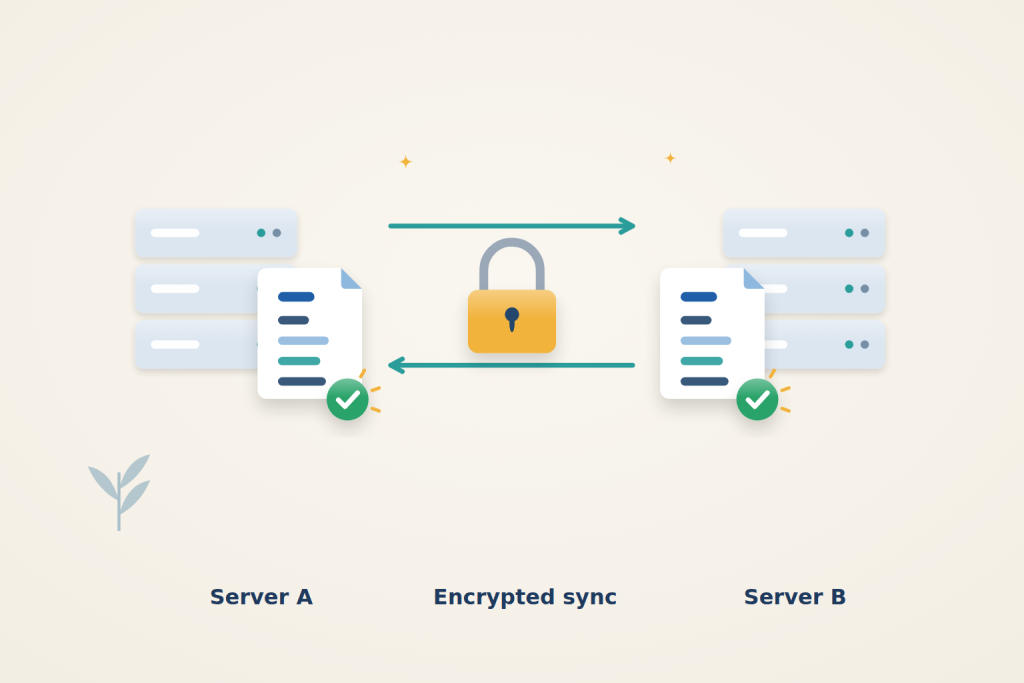
Syncthing keeps a shared folder synchronized between servers. Once you pair the devices, files travel over an authenticated, encrypted connection without passing through a central storage service. Changes work in both directions, including deletions: synchronization is not a backup.
Use two Ubuntu 24.04 servers with sudo access and stable, mutually reachable IP addresses. Two InterServer VPS instances can provide the endpoints. Call them Server A and Server B below. Start with an empty test folder, not live database files or your only copy of important data.
1. Install Syncthing on both servers
Run these commands on each server:
$ sudo apt-get update
$ sudo apt-get install -y ca-certificates curl
$ sudo install -d -m 0755 /etc/apt/keyrings
$ sudo curl -fsSL -o /etc/apt/keyrings/syncthing-archive-keyring.gpg https://syncthing.net/release-key.gpg
$ sudo chmod 644 /etc/apt/keyrings/syncthing-archive-keyring.gpg
Create /etc/apt/sources.list.d/syncthing.list:
deb [signed-by=/etc/apt/keyrings/syncthing-archive-keyring.gpg] https://apt.syncthing.net/ syncthing stable-v2Install the stable package and create a dedicated account and folder:
$ sudo apt-get update
$ sudo apt-get install -y syncthing
$ sudo useradd --system --create-home --home-dir /var/lib/syncthing --shell /usr/sbin/nologin syncuser
$ sudo install -d -m 0750 -o syncuser -g syncuser /srv/syncthing/shared
$ sudo systemctl enable --now syncthing@syncuser.service
$ syncthing --version
Use a new syncuser account for this setup; do not repeat useradd if it already exists. The packaged system service starts at boot and runs without an interactive login. Files must be readable and writable by this account.
2. Open and secure the administration pages
On your computer, open two terminals and run one tunnel in each. Replace the login and server placeholders:
$ ssh -N -L 18384:127.0.0.1:8384 user@SERVER_A_IP$ ssh -N -L 28384:127.0.0.1:8384 user@SERVER_B_IPVisit http://127.0.0.1:18384 for A and http://127.0.0.1:28384 for B. Leave both terminals open. The administration listener stays on server loopback; do not expose port 8384 publicly.
On each page, open Actions → Settings → GUI. Set a GUI authentication username and a strong, different password. Leave the listen address at 127.0.0.1:8384, save, and log in again when requested. These are administrator credentials, not the device-pairing identifiers.
In Settings → Connections, set Sync Protocol Listen Addresses to tcp://0.0.0.0:22000. Disable NAT traversal, Global Discovery, Local Discovery and Enable Relaying. Save and restart Syncthing if prompted. This uses direct TCP connections, so the peers need working routes and explicit addresses; it has no relay fallback.
If a Default Folder exists, remove its configuration through Edit → Remove before adding the dedicated folder. Do not select unrelated existing data.
3. Allow the peer connection
On each server, permit inbound TCP port 22000 from the other server’s IP in your active firewall. If UFW is already enabled, use:
$ sudo ufw allow from PEER_IP to any port 22000 proto tcpReplace PEER_IP separately on A and B. Add the equivalent rule to any provider firewall. Do not enable a previously inactive firewall without first preserving SSH access. This TCP-only setup does not need public UDP discovery or QUIC ports.
Distinguish device identity, address and folder ID
A device ID identifies a peer; its network address tells Syncthing where to reach it. Verify the ID through your trusted SSH session, not an unsolicited pairing request. The shared folder ID must match on both devices even if their local paths differ. Synchronization can propagate deletion and is not an independent backup.
4. Pair devices and share one folder
On each page, choose Actions → Show ID and copy its complete device ID. Compare it with the ID shown on the other server when adding that peer; do not accept an unexpected device request.
On A, click Add Remote Device, enter B’s ID and name it Server B. Under Advanced, replace the dynamic address with tcp://SERVER_B_IP:22000. Save. Repeat on B using A’s ID and address. Keep Introducer and automatic folder acceptance disabled.
On A, click Add Folder. Set:
- Folder Label:
Shared files - Folder ID:
server-share - Folder Path:
/srv/syncthing/shared - Folder Type under Advanced: Send & Receive
Under Sharing, select B and save. On B, add a folder with the same ID and path, choose Send & Receive, and share it with A. The folder ID must match on both devices; the label is only descriptive. If an incoming folder offer appears first, accept it using this path instead of adding a second folder.
Wait for the remote device to connect and the folder to show Up to Date on both pages.
Choose data that can be synchronized safely
Send & Receive makes changes on either server eligible to reach the other. That is useful for shared files, but it also propagates unwanted edits and deletions. Keep an independent backup and decide which process or person should normally edit a file before relying on the folder for important work.
Start with the disposable text file below so you can observe creation, modification and deletion without risking existing content. Do not point this folder at a running database’s data directory: synchronizing individual files is not the same as creating an application-consistent database copy. Similarly, simultaneous edits are not automatically merged into a single correct document; inspect any conflict copies before choosing what to retain.
5. Verify synchronization
On A, create /srv/syncthing/shared/hello.txt with this content, then give the service account ownership:
Hello from Server A.$ sudo chown syncuser:syncuser /srv/syncthing/shared/hello.txt
$ sudo -u syncuser sha256sum /srv/syncthing/shared/hello.txtOn B, wait for synchronization and run the same checksum command. The hashes must match. Edit the file on B, then confirm the updated content and matching hash on A. If the application that writes these files uses another account, arrange appropriate group permissions; avoid making the directory world-writable.
Delete only this disposable test file on B:
$ sudo -u syncuser rm /srv/syncthing/shared/hello.txtConfirm it disappears on A too. Watcher updates are not instant; deletions can take about a minute to be detected. Keep an independent backup for accidental deletion or unwanted changes. Simultaneous edits can produce sync-conflict copies; inspect both versions and merge the wanted changes rather than assuming Syncthing merges document contents.
Restart the service on either server:
$ sudo systemctl restart syncthing@syncuser.service
$ sudo systemctl status syncthing@syncuser.service --no-pager
The device should reconnect and retain its pairing and folder configuration. If it stays disconnected, check both IDs, peer addresses and TCP firewall rules. For a folder error, check the path, ownership and service log:
$ sudo journalctl -u syncthing@syncuser.service -n 50 --no-pager
Close the browser tunnels with Ctrl+C when finished. The system services continue synchronizing without the administration pages open.
Reference: Syncthing getting started. Check the documentation for your installed version before applying changes.
Related guides
How to Set Up zram on a Small VPS
Configure zram on Ubuntu with kernel and swap checks. Understand compressed memory limits, monitor real use and avoid unsafe swap-file changes.
LinuxHow to Find Services That Need a Restart After Updates with needrestart
Find services using outdated libraries with needrestart on Ubuntu. Read restart reports, review automatic restart policy and plan maintenance safely.
LinuxHow to Limit a Linux Service’s Memory with systemd
Limit a Linux service with systemd MemoryHigh, MemoryMax and swap controls. Check cgroup support, diagnose pressure and remove only your own policy.
LinuxHow to Protect SSH with CrowdSec on Ubuntu
Protect SSH with CrowdSec on Ubuntu. Connect log detection to firewall enforcement and test temporary blocking without losing administrator access.