
GICT knowledge base
How to Protect SSH with CrowdSec on Ubuntu
Published
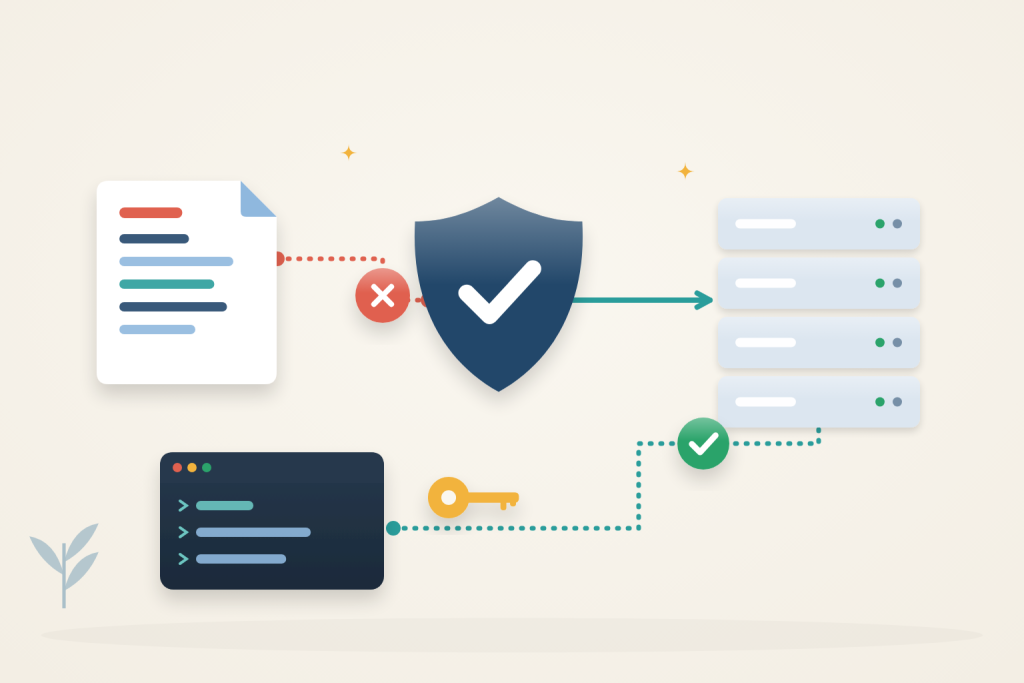
CrowdSec reads SSH logs, recognizes repeated authentication failures and creates blocking decisions. Its Security Engine does not block connections by itself: a firewall remediation component, also called a bouncer, applies those decisions to the host firewall.
Use Ubuntu 24.04 with sudo access and working SSH-key login. An InterServer VPS is suitable; this setup does not replace SSH keys, updates or your existing firewall policy. Keep provider-console access available and leave your current administrator connection open. Use a second machine with a different public IP for blocking tests.
Follow the chain from log to firewall
CrowdSec must acquire SSH logs, detect a scenario, create a decision and pass it to a functioning firewall bouncer. A manual temporary ban tests enforcement, not automatic detection. Keep console access and a separate administrator IP available before testing either path.
1. Install the current Security Engine
Add CrowdSec’s official package repository:
$ sudo apt-get update
$ sudo apt-get install -y curl ca-certificates gnupg nftables
$ sudo install -d -m 0755 /etc/apt/keyrings
$ curl -fsSL https://packagecloud.io/crowdsec/crowdsec/gpgkey -o /tmp/crowdsec-key.asc
$ sudo gpg --dearmor --output /etc/apt/keyrings/crowdsec.gpg /tmp/crowdsec-key.asc
$ sudo chmod 644 /etc/apt/keyrings/crowdsec.gpg
Create /etc/apt/sources.list.d/crowdsec.list:
deb [signed-by=/etc/apt/keyrings/crowdsec.gpg] https://packagecloud.io/crowdsec/crowdsec/any any mainThis procedure uses locally generated decisions rather than downloaded community blocklists. Before installing the engine, prepare its local override directory:
$ sudo install -d -m 0755 /etc/crowdsecCreate /etc/crowdsec/config.yaml.local with the following settings. If that file already exists, merge these keys rather than replacing other settings:
api:
  server:
    online_client:
      sharing: false
      pull:
        community: false
        blocklists: false
    disable_usage_metrics_export: true
These settings disable signal sharing, blocklist downloads and usage-metric export. Package and Hub downloads still require internet access; this is not an offline installation. Community participation can be configured separately later.
Install the repository’s current package:
$ sudo apt-get update
$ apt-cache policy crowdsec
$ sudo apt-get install -y crowdsec
$ sudo cscli version
Confirm the candidate comes from the CrowdSec repository, not Ubuntu’s older package. If package pinning selects an older version, resolve that before proceeding; the allowlist commands below require a current release.
2. Read SSH logs exactly once
Install the SSH collection, which supplies the parser and detection scenarios:
$ sudo cscli hub update
$ sudo cscli collections install crowdsecurity/sshd
$ sudo journalctl -u ssh.service -n 10 --no-pager
Recent SSH events should be visible. On Ubuntu the unit is normally ssh.service, not sshd.service.
Review /etc/crowdsec/acquis.d/ and, if present, the older /etc/crowdsec/acquis.yaml for an existing SSH source. Keep only one source for the same SSH events: do not read both /var/log/auth.log and the SSH journal. Remove or disable only the duplicate SSH entry, preserving unrelated log sources.
On a new installation, the installer may create /etc/crowdsec/acquis.d/setup.sshd.yaml for SSH file logs. Replace that file’s contents with the following journal source. If it does not exist, create /etc/crowdsec/acquis.d/sshd.yaml instead, after checking for duplicates:
source: journalctl
journalctl_filter:
  - "_SYSTEMD_UNIT=ssh.service"
labels:
  type: syslog
Check the configuration, restart and inspect status:
$ sudo crowdsec -t
$ sudo systemctl restart crowdsec
$ sudo systemctl is-active crowdsec
$ sudo cscli collections list
The service should be active and crowdsecurity/sshd enabled. A successful startup alone does not prove that SSH events are being processed.
3. Protect administrator access and enable blocking
Identify the public source IP of your administrator connection. In your existing SSH shell, the first value below is the address the server sees:
$ echo "$SSH_CONNECTION"Replace ADMIN_IP with that trusted address, then create an allowlist before enabling the bouncer:
$ sudo cscli allowlists create ssh-admin -d "Trusted SSH administration"
$ sudo cscli allowlists add ssh-admin ADMIN_IP
$ sudo cscli allowlists inspect ssh-admin
Do not allowlist the test machine. Keep this exemption narrow and update it if your administrator IP changes. An allowlist prevents new CrowdSec decisions for trusted addresses; it is not a replacement for your provider firewall or a guarantee against an unrelated firewall rule.
Install the nftables remediation component:
$ sudo apt-get install -y crowdsec-firewall-bouncer-nftables
$ sudo systemctl is-active crowdsec-firewall-bouncer
$ sudo cscli bouncers list
$ sudo nft list ruleset
The package registers the local bouncer automatically. Confirm it is active and recently pulling decisions. Its API key belongs in the generated configuration under /etc/crowdsec/bouncers/; do not paste that file into tickets or chat.
Managed mode adds CrowdSec’s own sets and rules. Do not flush your existing ruleset. This bouncer blocks a listed IP at the network level, not just on the SSH port, so a decision can affect that client’s access to other services too.
4. Verify detection and enforcement
Make a fresh SSH connection, then inspect ingestion:
$ sudo cscli metrics
$ sudo cscli alerts list
$ sudo cscli decisions list
Look for the SSH journal source with lines read and parsed. No alerts is normal when there has been no suspicious activity. Repeated failed authentications should eventually create an SSH alert and a decision; do not manufacture failures from your administration address.
Test enforcement separately using a machine you control with a different public IP. First confirm that it can open a new SSH connection to the server. From the administrator session, replace TEST_IP with that machine’s public source address:
$ sudo cscli decisions add --ip TEST_IP --duration 2m --reason "temporary firewall check"
$ sudo cscli decisions list --ip TEST_IP
After the bouncer’s polling interval, attempt a new connection from the test machine. It should fail while a fresh administrator connection still works. This manual decision proves enforcement, not automatic SSH attack detection.
Remove the test decision from the administrator session:
$ sudo cscli decisions delete --ip TEST_IPWait for the bouncer to update, then confirm that a new test-machine connection works again. The two-minute expiration is an additional recovery limit, not a reason to ban your own administration IP.
Understand what the manual test establishes
The successful connection before the temporary ban is the baseline. Failure during the ban and recovery after deletion demonstrate a controlled change in reachability. Without the initial success, a timeout could instead be a routing problem, a wrong port, or an unrelated firewall rule. Use new connections for each check rather than assuming an already-open session represents new connection handling.
A manual decision does not prove that real failed-login events are parsed into an automatic alert. For that, inspect the SSH source metrics and the resulting alerts when suspicious activity occurs. Keep the two questions separate: whether the engine detects the event and whether a decision is enforced. This avoids trying to repair log parsing by repeatedly changing firewall rules.
5. Investigate a false positive
Use the alert details and source IP to distinguish a real attack from a mistyped password or a shared NAT address. Delete only the incorrect IP decision, and add a narrow allowlist entry only if you intend to exempt that source from future CrowdSec decisions.
For service or ingestion problems, inspect:
$ sudo journalctl -u crowdsec -u crowdsec-firewall-bouncer -n 50 --no-pager
$ sudo cscli metrics
If locked out, use the provider console to remove the relevant decision. Stopping only the Security Engine does not necessarily clear rules already installed by the bouncer. Keep an independent recovery route until both blocking and unblocking have been verified.
Reference: CrowdSec architecture and documentation. Check the documentation for your installed version before applying changes.
Related guides
How to Set Up zram on a Small VPS
Configure zram on Ubuntu with kernel and swap checks. Understand compressed memory limits, monitor real use and avoid unsafe swap-file changes.
LinuxHow to Find Services That Need a Restart After Updates with needrestart
Find services using outdated libraries with needrestart on Ubuntu. Read restart reports, review automatic restart policy and plan maintenance safely.
LinuxHow to Limit a Linux Service’s Memory with systemd
Limit a Linux service with systemd MemoryHigh, MemoryMax and swap controls. Check cgroup support, diagnose pressure and remove only your own policy.
LinuxHow to Sync Files Between Servers with Syncthing
Sync a test folder between two servers with Syncthing. Verify peer identity, folder IDs and deletion behavior, and keep independent backups.