
GICT knowledge base
How to manage MySQL databases using PHPMyAdmin
Published
MySQL is the most popular open-source database management system. It powers the majority of the online websites and one of the most popular websites, Wikipedia, also uses MySQL store the data. But, with basic MySQL installation, you have to write queries to create and manage databases. It is a hard and time-consuming process. First of all, you have to learn MySQL queries to manage databases. Then, you have to manage databases in MySQL with command line interface.
That is why something like PHPMyAdmin exists. PHPMyAdmin is a GUI for your MySQL. With PHPMyAdmin, you can manage databases without writing queries. And, you do not even have to learn those queries. You can just work with a simple interface to manage databases and almost everything on your MySQL server.
In this guide, I will show you how to manage MySQL databases using PHPMyAdmin. First of all, let us see how to install PHPMyAdmin on the Ubuntu server.
Install PHPMyAdmin on Ubuntu
To install new packages on the server, you must have root access or a user with sudo privilege. Connect to your server via SSH and execute the following command on the server to update repositories.
$ sudo apt-get update
It might take some time depending on the number of updates. Now, execute the following command to install PHPMyAdmin on your server.
$ sudo apt-get install phpmyadmin -y
The -y flag we used in this command will suppress the confirmation prompt. Not using that flag would not make any difference. It might take a minute or two for installation. It will also ask you the webserver you are using on the server. Select a web server using Space key and then hit the OK button.
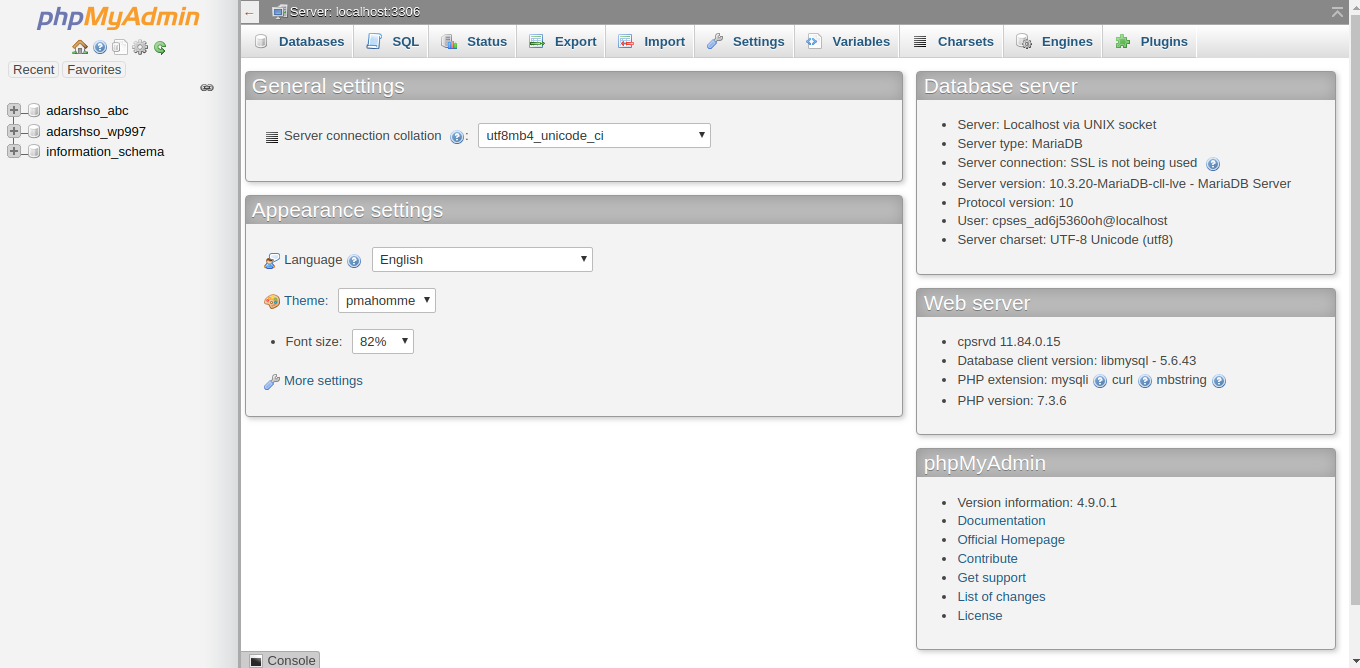
Once the installation is complete, you can access PHPMyAdmin at http://[SERVER_IP]/phpmyadmin. Enter the correct username and password to log in. Once you are in, you will see a screen just like the following image.
Now, we will learn how to manage databases using PHPMyAdmin.
How to create a database in PHPMyAdmin
To create a database, click on the Databases option given in the main navigation bar. In the Databases section, you will find a list of available databases as well as a simple form to create a new database. It will look like the following image.
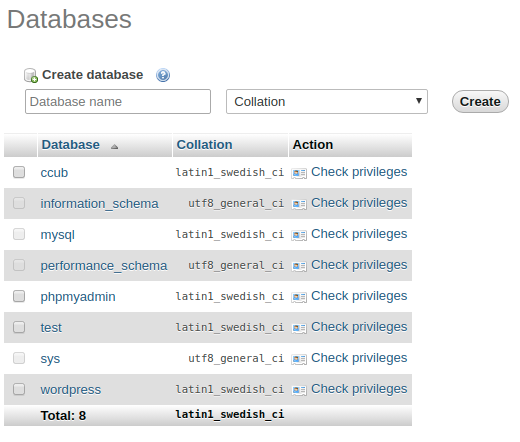
To create a new database, Enter the name of the new database in the Database name field. And then click on the Create button given on the right side of the form. Once done, your database will be ready to use.
Now, let us see how to rename a MySQL database in PHPMyAdmin.
Rename a MySQL database in PHPMyAdmin
On the PHPMyAdmin home screen, you will find a list of available databases in the left sidebar just like the following image.
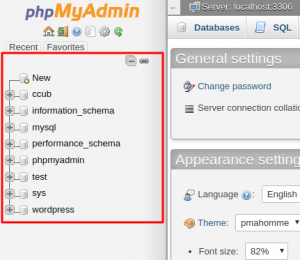
Now, click on a database you want to rename. It will redirect you to a new page on which you can manage a specific database. In this case, I am clicking on a database named ccub. The new screen will look like the following image.
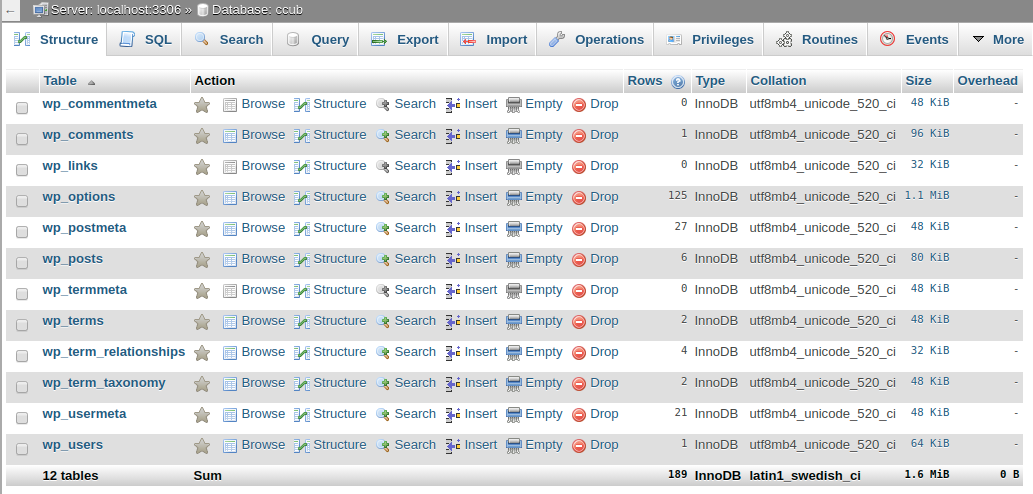
From the main navigation bar given on this page, click on the Operations option. Now, you will see a panel in which you can perform various actions that can affect the whole database. On that page, you will find a card with title Rename database to. In that card, you can enter the new name of the database.
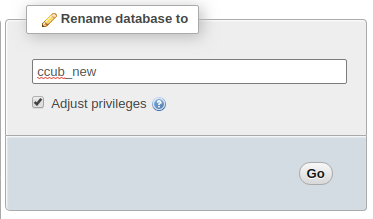
After entering the new name for your database, click on the Go button to finally rename the database. Keep the Adjust privileges option checked if you have a dedicated user for this database. If you are using the root user to access this database, that option does not matter.
Delete(Drop) a MySQL database using PHPMyAdmin
Just like we did in the previous tutorial. Click on the Database name given in the left sidebar of the PHPMyAdmin. Then, from the main navigation bar, click on the Operations option. For reference, see the following image.
In the operations section, you will find a card with the title Remove Database. It will contain a single link with text Drop the database, just like the following image.
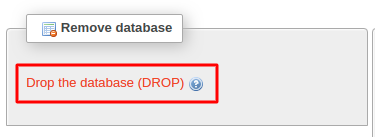
To delete a database, click on the Drop the database link and confirm the action. It will delete the database as well as all the data inside that database. It is always good to copy a database and data into another database before deleting the current one, just for the sake of the backup. Let us see how to copy a MySQL database using PHPMyAdmin.
Copy MySQL database using PHPMyAdmin
In the same Operations section of the database, besides the Remove database card, you will find a card with the title Copy database to. It will contain a single field and few options, just like the following image.
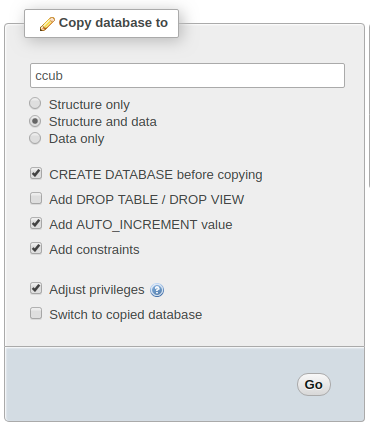
In the text field, Enter the name of the database in which you want to copy the current database. If the database with a new name does not exist, select CREATE DATABASE before copying option. You also have an option to copy a table structure only, Table structure + data or data only.
Select the options according to your requirements and click on the Go button. It will create a new database and will copy the current database according to the options selected.
So, this is how you can manage MySQL databases using PHPMyAdmin. Let us know in the comment section if you have questions or queries, we are happy to help.