
GICT knowledge base
How to Restrict an SSH Key to One Command
Published
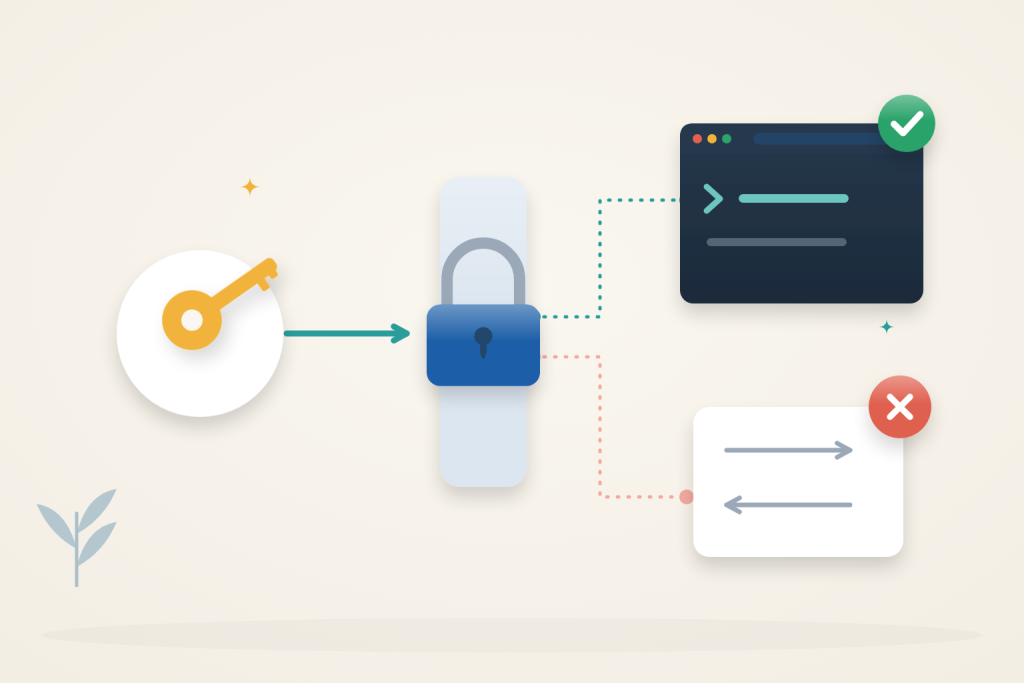
An automation job may need to check a server without opening a general-purpose shell. OpenSSH can attach a fixed command to an individual public key, so requests made with that key run the permitted command instead of whatever the client asks for.
The example below gives a dedicated key access to /usr/bin/uptime. It also disables terminal allocation and forwarding. Keep your existing administrator account and key unchanged.
1. Create a separate client key
You need an Ubuntu 24.04 server with working SSH access and a sudo-capable administrator account, plus an OpenSSH client. If you need a server for an automation endpoint, an InterServer VPS can host it; size the VPS for the actual workload.
On the client machine, create a key specifically for this task:
$ mkdir -p "$HOME/.ssh"
$ chmod 700 "$HOME/.ssh"
$ ssh-keygen -t ed25519 -f "$HOME/.ssh/uptime_only" -C uptime-only
$ cat "$HOME/.ssh/uptime_only.pub"
Do not overwrite an existing key. Choose a passphrase for interactive use; unattended jobs need an appropriate local key-unlocking arrangement. Copy only the displayed public key to the server. The private file, without .pub, stays on the client.
Keep your administrator SSH session open while setting this up.
What this key does—and does not—allow
The client key identifies the automation job; the server’s authorization entry determines what that identity may do. The restriction belongs on the server even if your local script only ever asks for uptime. Someone who obtains the private key can change their client commands, so a well-behaved client is not a substitute for the forced command.
The dedicated account is equally important. The permitted executable runs with that account’s permissions, not with the administrator’s permissions. Keeping it separate avoids granting a monitoring job the ability to modify application files simply because a human administrator can do so. The root-owned authorization path then prevents that account from rewriting its own key restrictions.
This example deliberately accepts no task parameters. If the automation needs a more powerful action later, evaluate the permissions and input handling of that action separately. Changing the forced command to a general shell would remove the central protection even if forwarding and terminal requests remained disabled.
2. Prepare the dedicated server account
On the server, create a new account named uptimecheck:
$ sudo useradd --create-home --shell /bin/sh uptimecheck
$ sudo chown root:root /home/uptimecheck
$ sudo chmod 755 /home/uptimecheck
$ sudo install -d -o root -g root -m 755 /home/uptimecheck/.ssh
Use these ownership changes only for this new, purpose-built account. The root-owned home and SSH directory prevent it from replacing its authorization file. They are readable so OpenSSH can check the public key. Do not add the account to sudo-capable groups or set a login password.
The account needs a working shell because OpenSSH uses it to launch the forced command. Setting its shell to nologin would prevent the intended operation too. A working login shell does not by itself override the key restrictions configured next.
3. Install the restricted public key
As the administrator, create /home/uptimecheck/.ssh/authorized_keys with one line:
restrict,command="/usr/bin/uptime" ssh-ed25519 REPLACE_WITH_PUBLIC_KEY_DATA uptime-onlyReplace the key type, key data and comment with the complete public-key line copied from the client. Keep the restrict,command="/usr/bin/uptime" prefix, including the space before the key type. Do not paste the private key or leave the placeholder in place.
Set ownership and permissions:
$ sudo chown root:root /home/uptimecheck/.ssh/authorized_keys
$ sudo chmod 644 /home/uptimecheck/.ssh/authorized_keys
The options perform different jobs:
command="/usr/bin/uptime"replaces requested shell commands, shell sessions and subsystem requests with this fixed command.restrictdisables port forwarding, agent forwarding, X11 forwarding, PTY allocation and the user’s SSH startup file. It does not select a command by itself.
The command points to a system-owned executable, not a script this account can edit. Avoid giving an automation key a shell, editor or interpreter as its supposedly restricted command: those can provide other ways to execute code.
No SSH-service restart is needed for an authorized_keys change. Existing AllowUsers, AllowGroups or Match policies must still permit the new account. This example uses Ubuntu’s normal per-user authorization-file location; keep any deliberate custom authorization policy intact.
4. Connect with only the intended key
On the client, add this block to $HOME/.ssh/config, preserving existing entries. Replace server.example.com with your server’s hostname or address:
Host uptime-only
    HostName server.example.com
    User uptimecheck
    IdentityFile ~/.ssh/uptime_only
    IdentitiesOnly yes
    RequestTTY no
    ControlMaster no
    ControlPath none
Protect the configuration file and connect:
$ chmod 600 "$HOME/.ssh/config"
$ ssh uptime-only
Verify the server’s host-key fingerprint through a trusted channel when connecting for the first time. Do not disable host-key checking to make the connection succeed.
You should receive an uptime line and then return to your local prompt, not enter an interactive server shell. IdentitiesOnly selects the intended identity, and disabling connection sharing makes each test perform fresh authentication instead of reusing an older connection.
5. Prove that other requests are restricted
Try requesting a different command:
$ ssh uptime-only idYou should still receive uptime output, not a user-ID report. A forced command replaces the requested command; it does not necessarily reject the SSH connection or return a failure status.
Request a terminal explicitly:
$ ssh -tt uptime-onlyPTY allocation should be refused. Finally, test a direct TCP forwarding request to the server’s SSH port:
$ ssh -W 127.0.0.1:22 uptime-onlyWith the restriction active, the forwarding channel should be refused as administratively prohibited. A refused connection to the target port alone is not proof that forwarding was blocked. If you receive a server banner or an open stream instead, stop it with Ctrl+C and recheck the key options.
Also make a fresh login with your normal administrator account to confirm it still works.
Judge the alternate-command test by its output, not by whether SSH connected successfully. Receiving uptime after requesting id is the intended result. By contrast, receiving a user-ID report means the requested command ran and the restriction has not been established. For the terminal and forwarding tests, inspect the specific refusal: an unrelated network failure is not evidence that the key policy works.
Troubleshooting and removal
If authentication fails, check that the public key is one intact line, the correct private key is selected, and the server’s account/authorization policies allow this login. Do not remove restrict as a troubleshooting shortcut.
If a different command runs, look for another unrestricted copy of the key or a different identity being accepted. Restrictions belong to this authorization entry; they do not automatically apply to every key or every login method for the account. A server-side ForceCommand can also take precedence over the key’s command.
For a different fixed task, use an administrator-owned executable that does not evaluate client input. Never turn SSH_ORIGINAL_COMMAND into a shell command with eval or sh -c.
To revoke this key, remove its entire line from authorized_keys and test a new connection. This stops future authentication with that entry, not sessions already open. Leave unrelated accounts and keys untouched. See the OpenSSH authorized-key options for the full option reference.
Related guides
Plan a Safe Redis-to-Valkey Migration
Plan a Redis-to-Valkey migration: check version compatibility, rehearse recovery, stop writers for cutover and protect against lost writes during rollback.
Linux AdministrationHow to Schedule Tasks with systemd Timers
Schedule tasks with systemd timers. Verify service results separately from timer status, test missed-run handling and use an explicit UTC schedule.
Linux AdministrationHow to Restrict a Linux Service with systemd Security Settings
Restrict a Linux service with systemd drop-ins, a dedicated account, read-only paths, private temporary storage, and controlled writable directories.
Linux AdministrationHow to Track Configuration File Changes in Linux with auditd
Track configuration edits on Ubuntu with persistent auditd rules, identify login accounts and processes, search events, and remove rules safely.