
GICT knowledge base
How to Preserve Your Website’s Search Rankings When Changing Domain Names
Published
Are you thinking about changing your website’s domain name? Maybe you want a name that better reflects your business’s brand, or perhaps you want a name with a more recognizable extension, such as dot com. Regardless, you can easily change your website’s domain name by registering the new name and configuring its nameservers so that they point to the servers hosting your site. Before doing this, though, you should follow some basic steps to preserve your website’s search rankings.
Will Changing Domain Name Affect My Website’s Search Rankings?
Although it’s not guaranteed, changing your website’s domain name can certainly affect its search rankings. Search engines identify web pages by their URL. If Google views your website’s homepage as being worthy of a first-place ranking for a popular keyword, it will index and rank your homepage’s current URL. When you change your website’s domain name, however, it changes the URL of every page on your site, so Google’s algorithm treats it as a new page by ranking it low or not at all in the search results.
Furthermore, each backlink pointing to your website is tied to its current domain. If you change the domain name, your site’s backlinks will point to the old URLs rather than the new URLs. Search engines will then assume that your website doesn’t have any backlinks, resulting in lower search rankings. Thankfully, there are ways to preserve your website’s search rankings when changing the domain name.
Update Internal Links
Before changing your website’s domain name, you should update all internal links — links pointing to other pages on your site — to reflect the new name. Otherwise, visitors may encounter a 404 error page when clicking these links, and search engines may lower your rankings. This involves going through and changing the URL of all internal links on your website so that they contain your new domain name. For example, if you are changing your website’s domain name from YourOldWebsite.com to YourNewWebsite.com, you’ll need to configure all internal links to include YourNewWebsite.com.
If your website is small and only has a few dozen pages, you can probably update all internal links manually. But if your website is large and has hundreds or thousands of pages, this can be painstakingly tedious. Depending on how your website was built, though, you may be able to use a tool to automate this process. For WordPress, you can install the Search & Replace plugin to automatically replace all instances of your old domain name, including link URLs, with your new domain name in just a few minutes.
Set Up a 301 Redirect
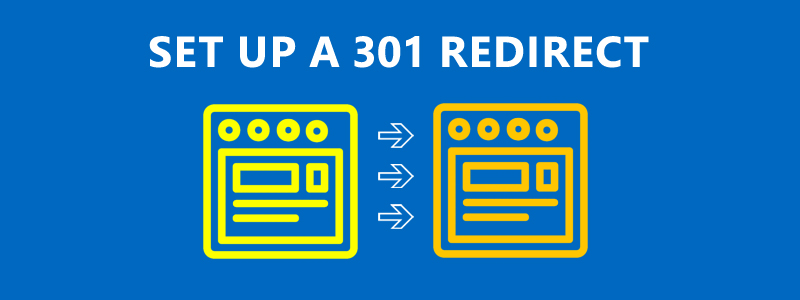
When you’re ready to officially change your website’s domain name, set up a 301 redirect so that anyone who attempts to visit your site’s old URLs, human visitors and search engine bots alike, will automatically be redirected to the new URLs. To do this, you’ll need to create and configure a .htaccess file and save it to the root directory of your old domain name. That may sound like a complex task, but it’s actually quite easy. Open a text editor like Notepad or Microsoft Word and add the code: “redirect 301 / http://www.YourNewWebsite.com/.” Next, save the file as “.htaccess” and upload it to the root directory of your old domain name. This ensures that anyone who follows an old backlink pointing to your website will be redirected to the new domain name.
You don’t need any other content on the old domain name. In fact, you should remove all your website’s content from the old domain name to prevent duplicate content issues. Just remember to make sure you’ve moved the content to your new domain name before deleting it from the old one.
Notify Google Using the Search Console

With a 301 redirect set up, search engines will see that your website has changed to a new domain name, so you shouldn’t experience any substantial decrease in search rankings. Nonetheless, it’s still a good idea to notify search engines about your website’s new domain name. You can notify Google using the search engine’s Search Console. After logging in to Google Search Console and selecting your old domain name, click the “Go to old version” link in the bottom-right corner. The change of address feature is only available in the old version, so you won’t find it in the new version. Next, click the gear icon at the top of the page and choose “Change of Address” from the drop-down menu. Proceed by selecting your new domain name, confirming that 301 redirects are working and submitting the change of address request.
According to Google, it can take up to 180 days for the search engine to complete a change of address request. During this time, you may discover some fluctuations with your website’s search rankings. By the end of this period, however, they should resolve.
Notify Bing Using the Webmaster Tools
To notify Bing of your website’s new domain name, log in to Bing Webmaster Tools and select your old domain name. From the main screen, click “Diagnostics & Tools” on the right-side menu, followed by “Site Move.” Next, click the second button, indicating that you want to completely move your entire website to another verified site.
Scan Website for Broken Links
The final step to changing your website’s domain name is to scan it for broken links. Even if you used a WordPress plugin like Search & Replace to change the URLs of all your site’s internal links, some may linger behind. You can scan your website to see if there are any broken links remaining, however, using a web-based tool like DeadLinkChecker.com or BrokenLinkCheck.com. If you see any broken links present, update them to include the accurate URL with your new domain name included.
The domain name is an important element of your website. It helps visitors recognize and remember your website. When changing your site’s domain name, though, you should plan ahead so that it doesn’t hurt your search results.